When my best friend told me she was pregnant, I immediately started making a list of things I could knit and sew for my first godchild. The list quickly got out of control, and had to be narrowed down to the most practical items that I could feasibly finish making before the due date. I ended up making some bibs, a carseat poncho, a couple different blankets, and probably some other things I’m forgetting. I’ll have to dig up the photos for you sometime.
After that knitting marathon, I decided I wanted to keep making things for this child, but at a more sustainable pace. I wanted to make sure that the things I made were developmentally appropriate and would actually be useful, instead of just adding to the mountain of things that kids invariably accumulate. I also wanted to keep shipping costs down if possible, since I don’t live close to them.
After doing a lot of research, I decided to make a busy book that I could add more pages to over time. Busy books are great for car rides, waiting rooms, or any time you need to keep little hands busy. I made it relatively small, with the pages only measuring 7×7″, which makes it easy for toddlers to hold on to, easy to pack in a diaper bag or backpack, and also means the pages can be sent through lettermail if I need to ship them. I also added a handle to the cover so that a toddler could easily carry it themselves.
Each time I want to make a new busy book page, I do some research on age-appropriate skills and toys, and design the page with that in mind. Because I made the busy book with opening plastic binder rings, pages can be removed if they are no longer interesting, and new pages can always be added. The holes in the cover and pages of the busy book are just button holes.
My best friend now has a second child, and I am currently working on making a second busy book. This way they will each have their own busy book, and the older one will be able to pass pages on to their sibling, if they want to, as they get older.
I will be taking more process photos as I make this second busy book so I can put together a bit of a guide for those interested in making their own (be sure to subscribe if that’s something you want to read), but for now here are some photos of what I’ve made previously, with some descriptions and links to products I used. Feel free to ask questions! I’ll either answer here or in a future post.
I really enjoy hand sewing, so you’ll see a lot of that here, but most of the pages can be altered to be sewn by machine. All the pages have craft felt on the front and cotton fabric, with stabilizer, on the back. Craft felt is really easy to work with, since you don’t have to worry about the edges fraying.
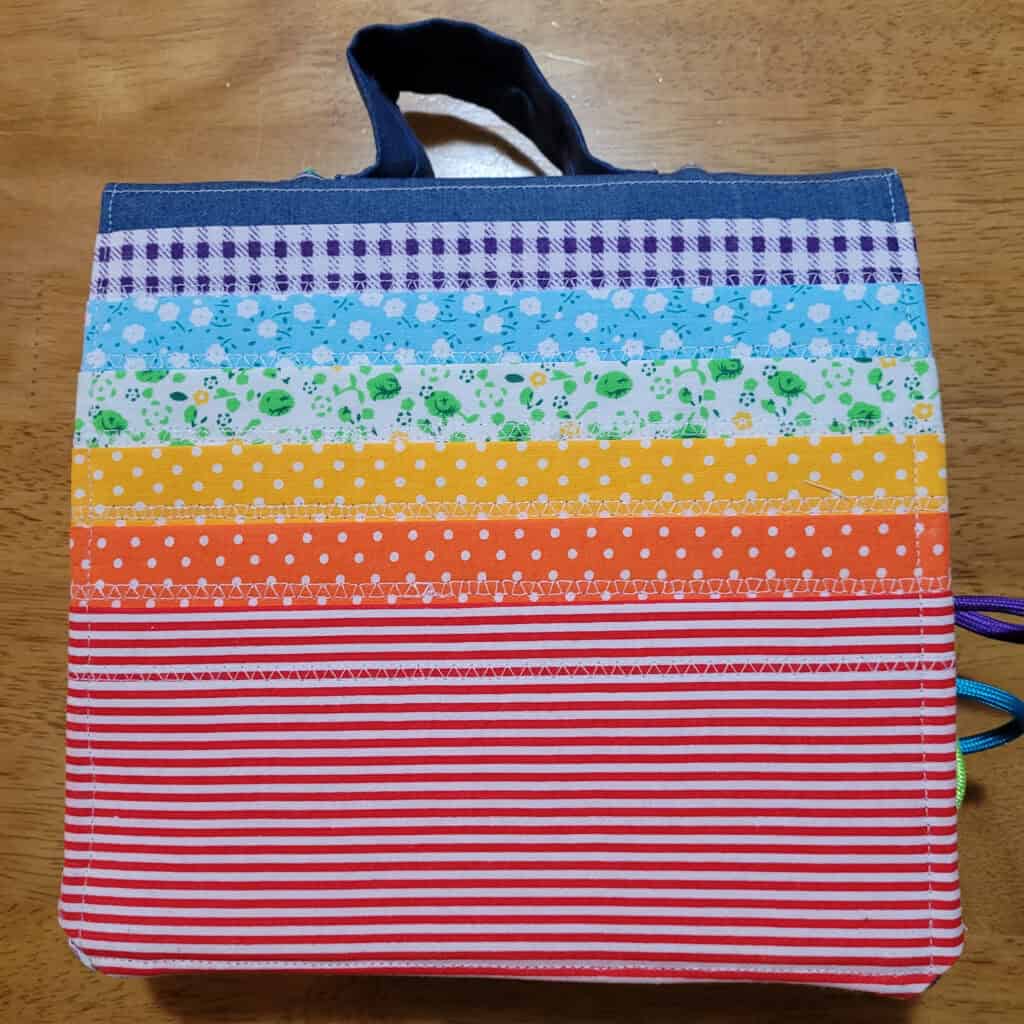
This is the back cover of the busy book. The front, which I will not be sharing online, has the child’s full name in felt letters. I made the cover out of thin denim for durability. It has iron-on stabilizer inside to give it some structure.
Each layer of fabric you see here is a pocket. I’m not sure if the pockets have ever been used, but I like the idea of them being able to tuck a small picture book or something in there to take with them.
The handle is also made of denim. I think I put some stabilizer just in the middle of the handle to help it retain its shape.
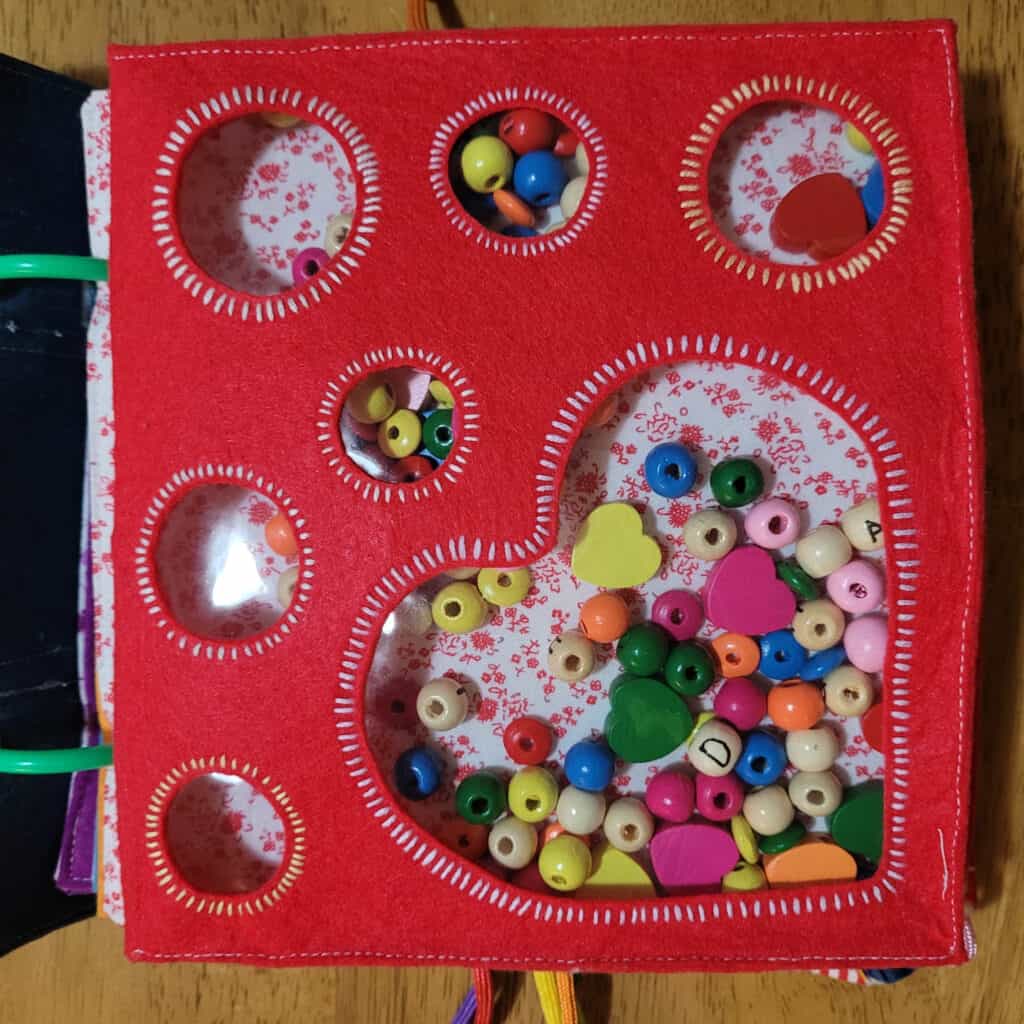
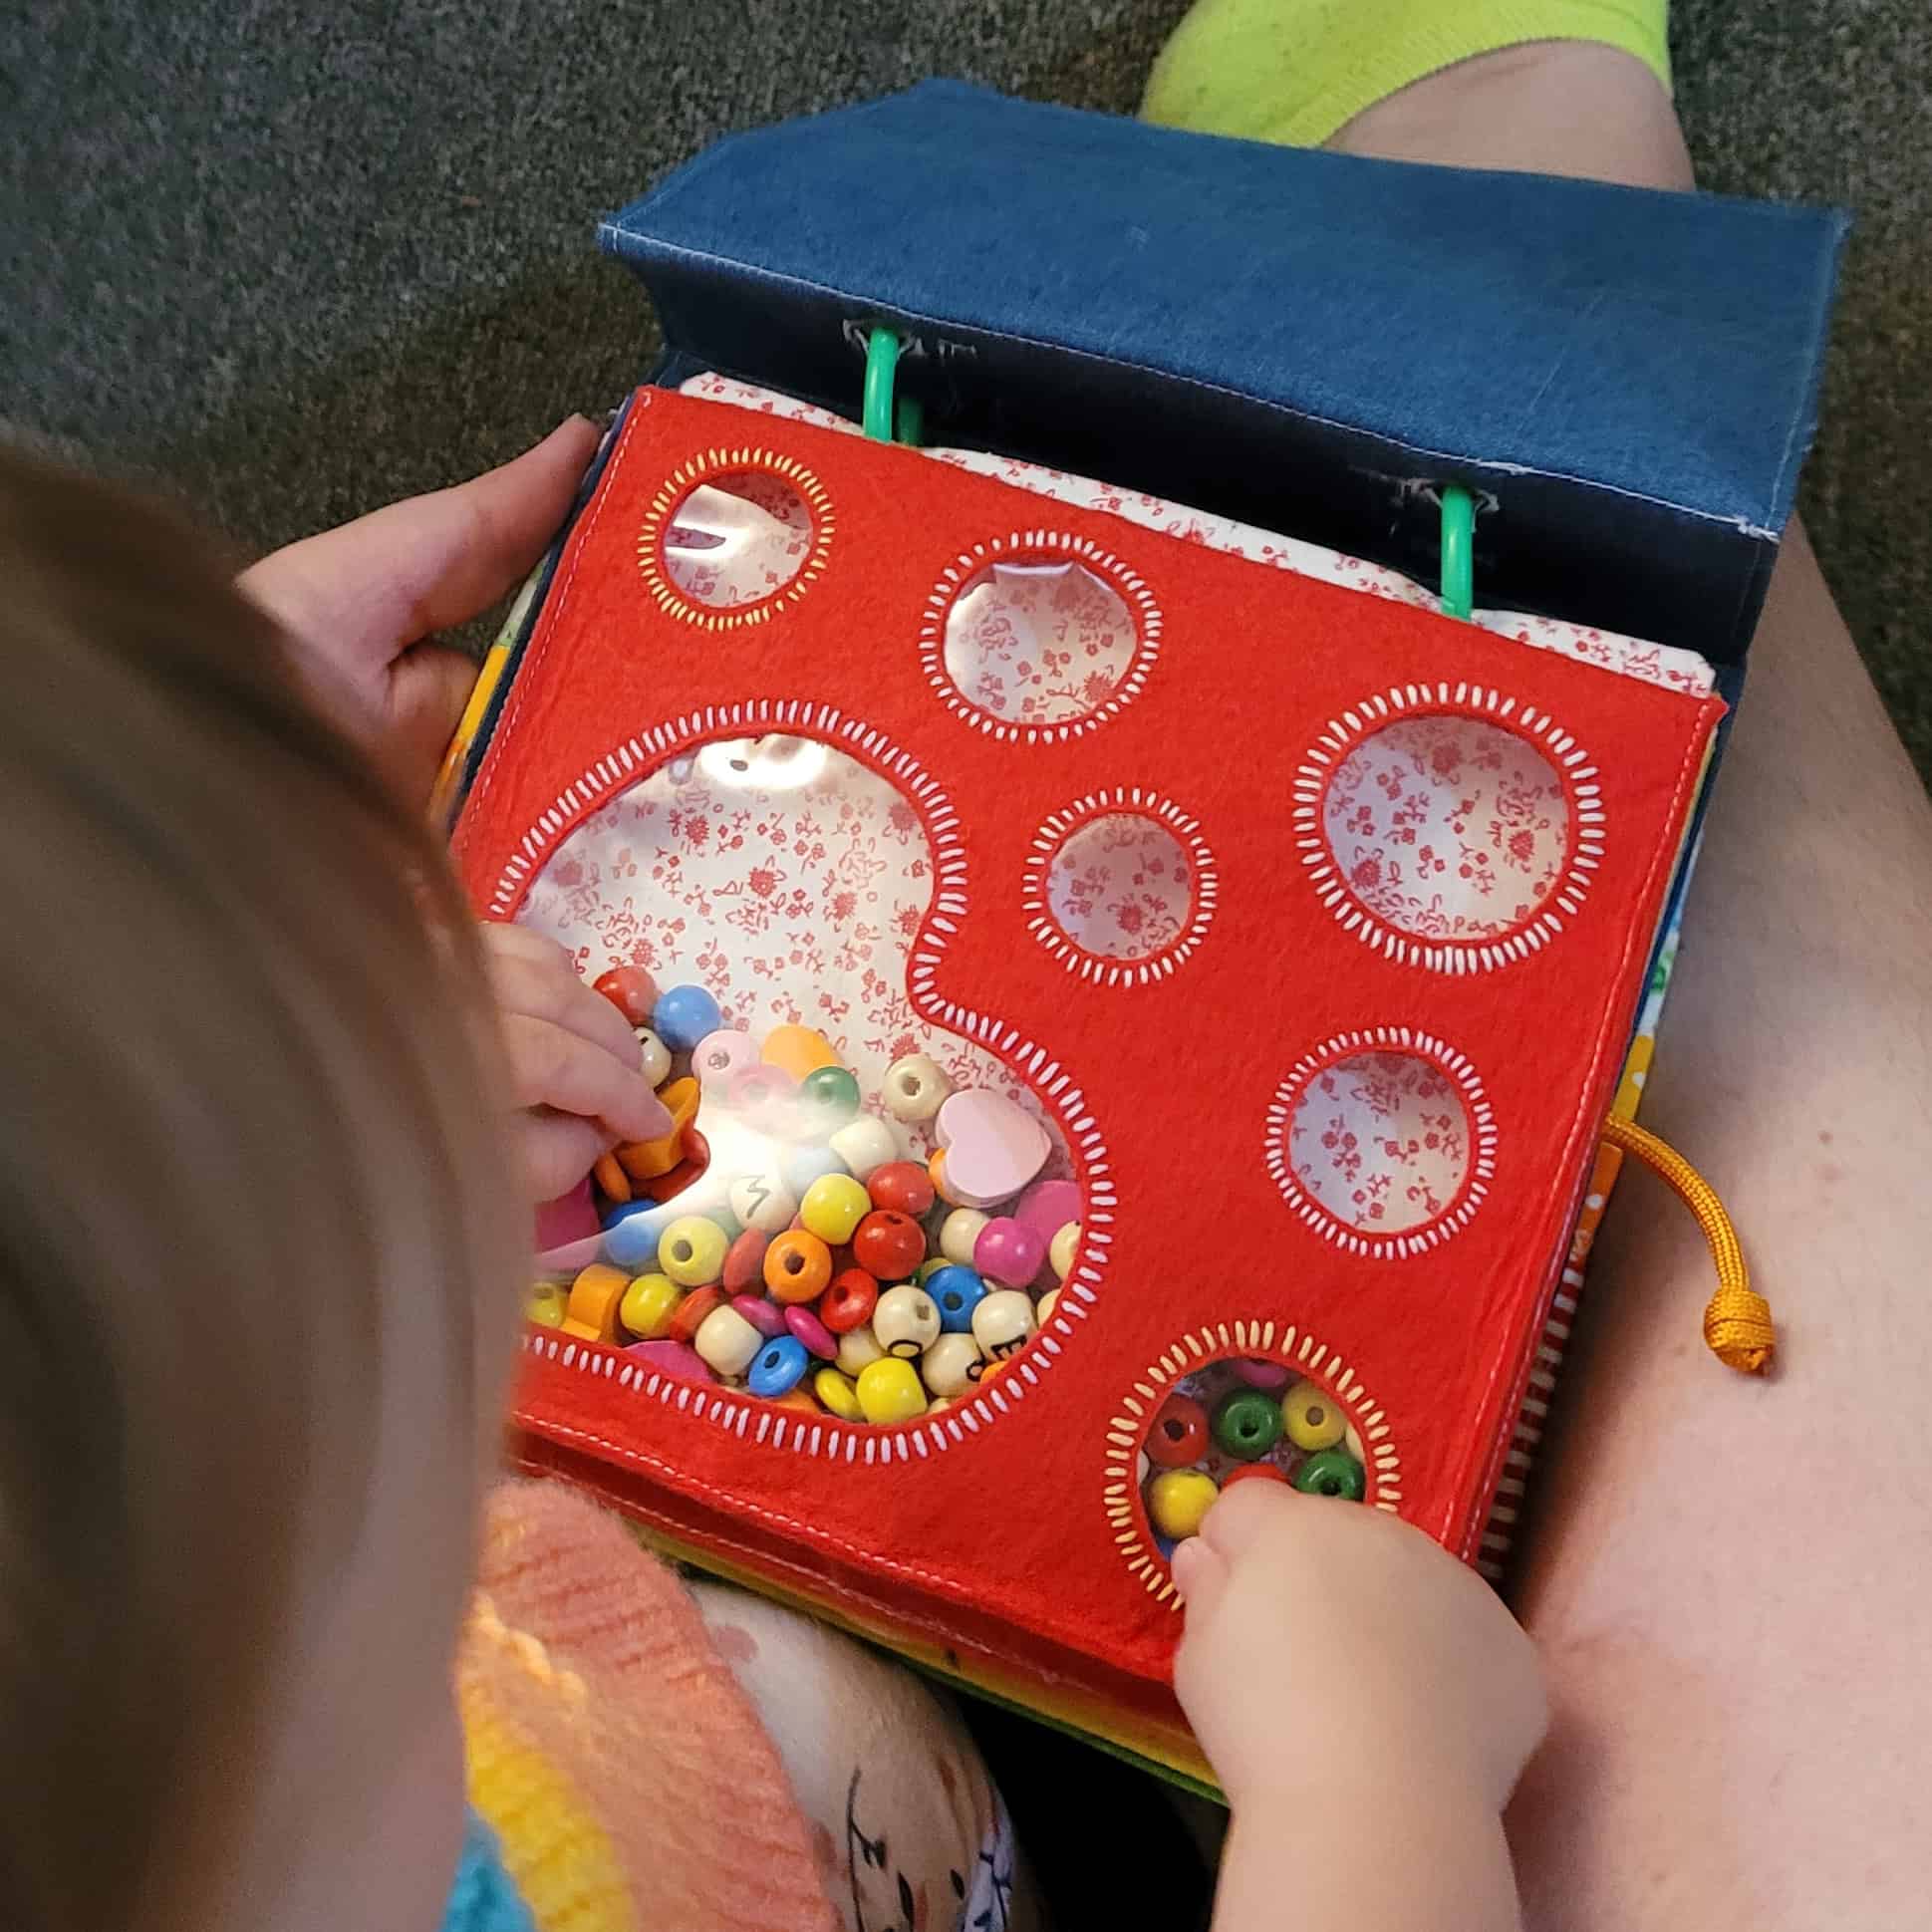
This is the first page in the original busy book I made. This particular page has cotton fabric on the front as well as the back, to make a backdrop. The felt is sewn into a kind of shallow box. I did that part by machine.
The cutouts have some flexible clear poly material behind them. It was in the ends bin at fabricland, so I don’t really have the details on it, but it’s pretty thick. I just cut a square the size of the page and then sewed around the shapes. This gives the front of the box some extra stability.
The wooden beads are from a bracelet-making kit I found at Dollarama. I drew letters on the natural wood ones. This makes a kind of search-and-find game. Looking for hearts, or colours, or letters. Even for kids not old enough to recognize letters or colours yet, the movement of the beads in the page is interesting.
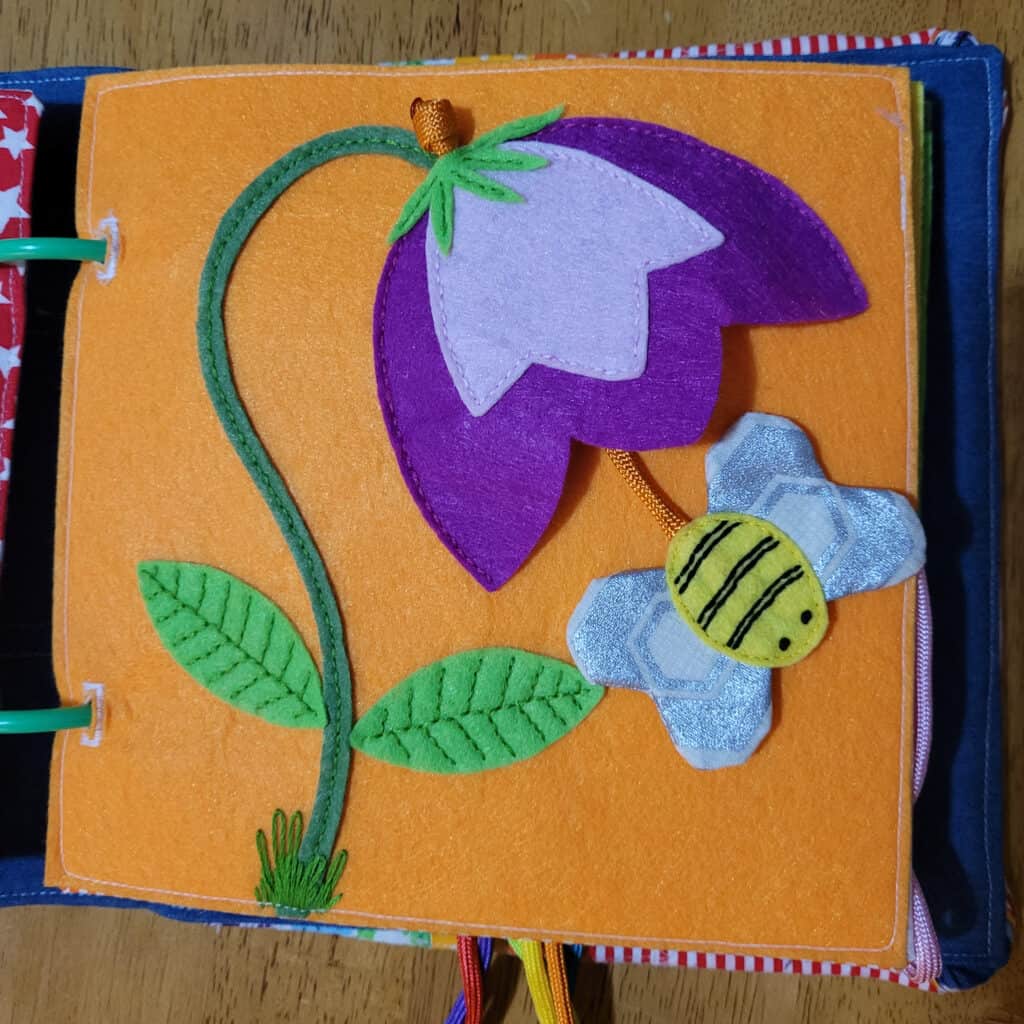
This is the second busy book page I made. You can see the construction a bit better in this photo. The flower and bee is all hand-sewn and embroidered. Sewing around the edges to attach the backing is done by machine, and the button holes are done by machine.
The bee is attached to a short length of paracord, allowing it to be pulled in and out of the flower. The wings are made of some scrap fabric I had around, and I sewed layers of plastic from a cereal box into them so they make crinkly noises.
This page is great for developing fine motor skills and hand-eye coordination, as well as helping kids understand cause and effect.
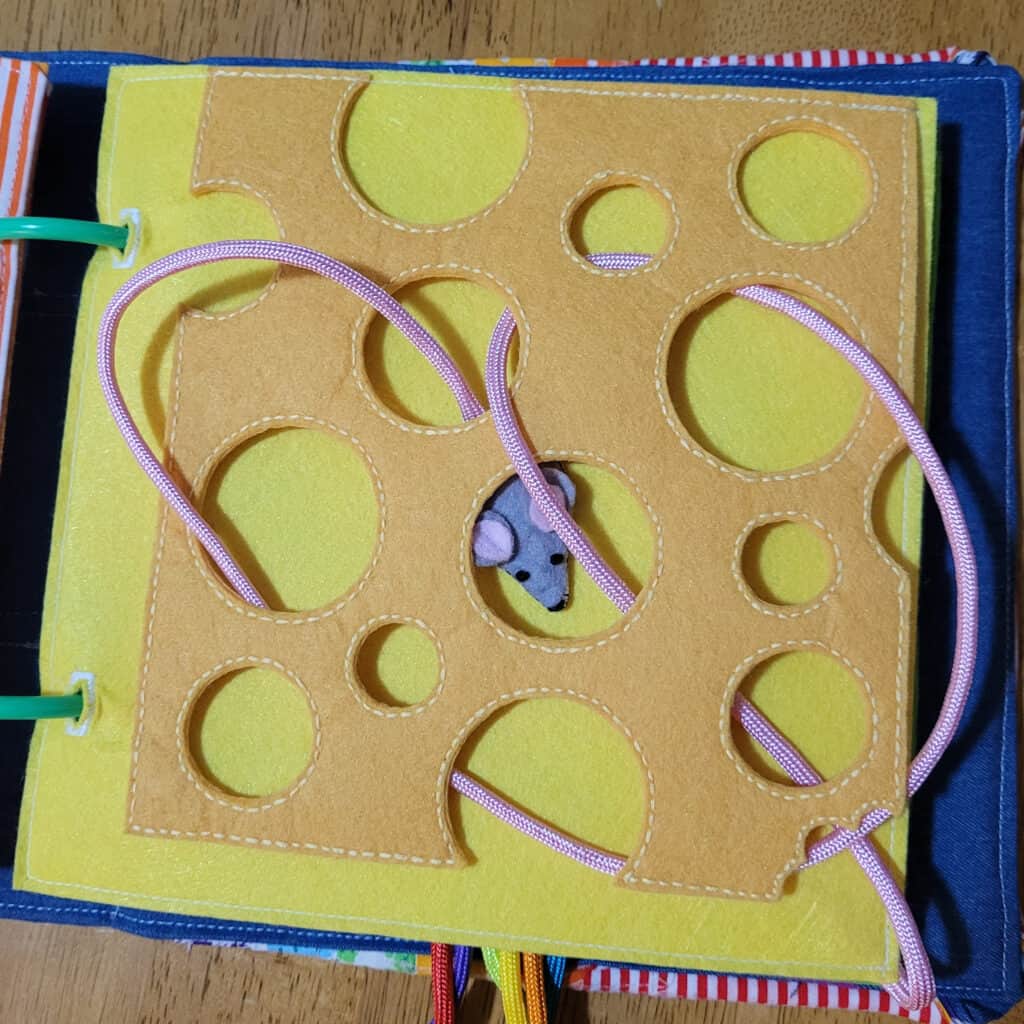
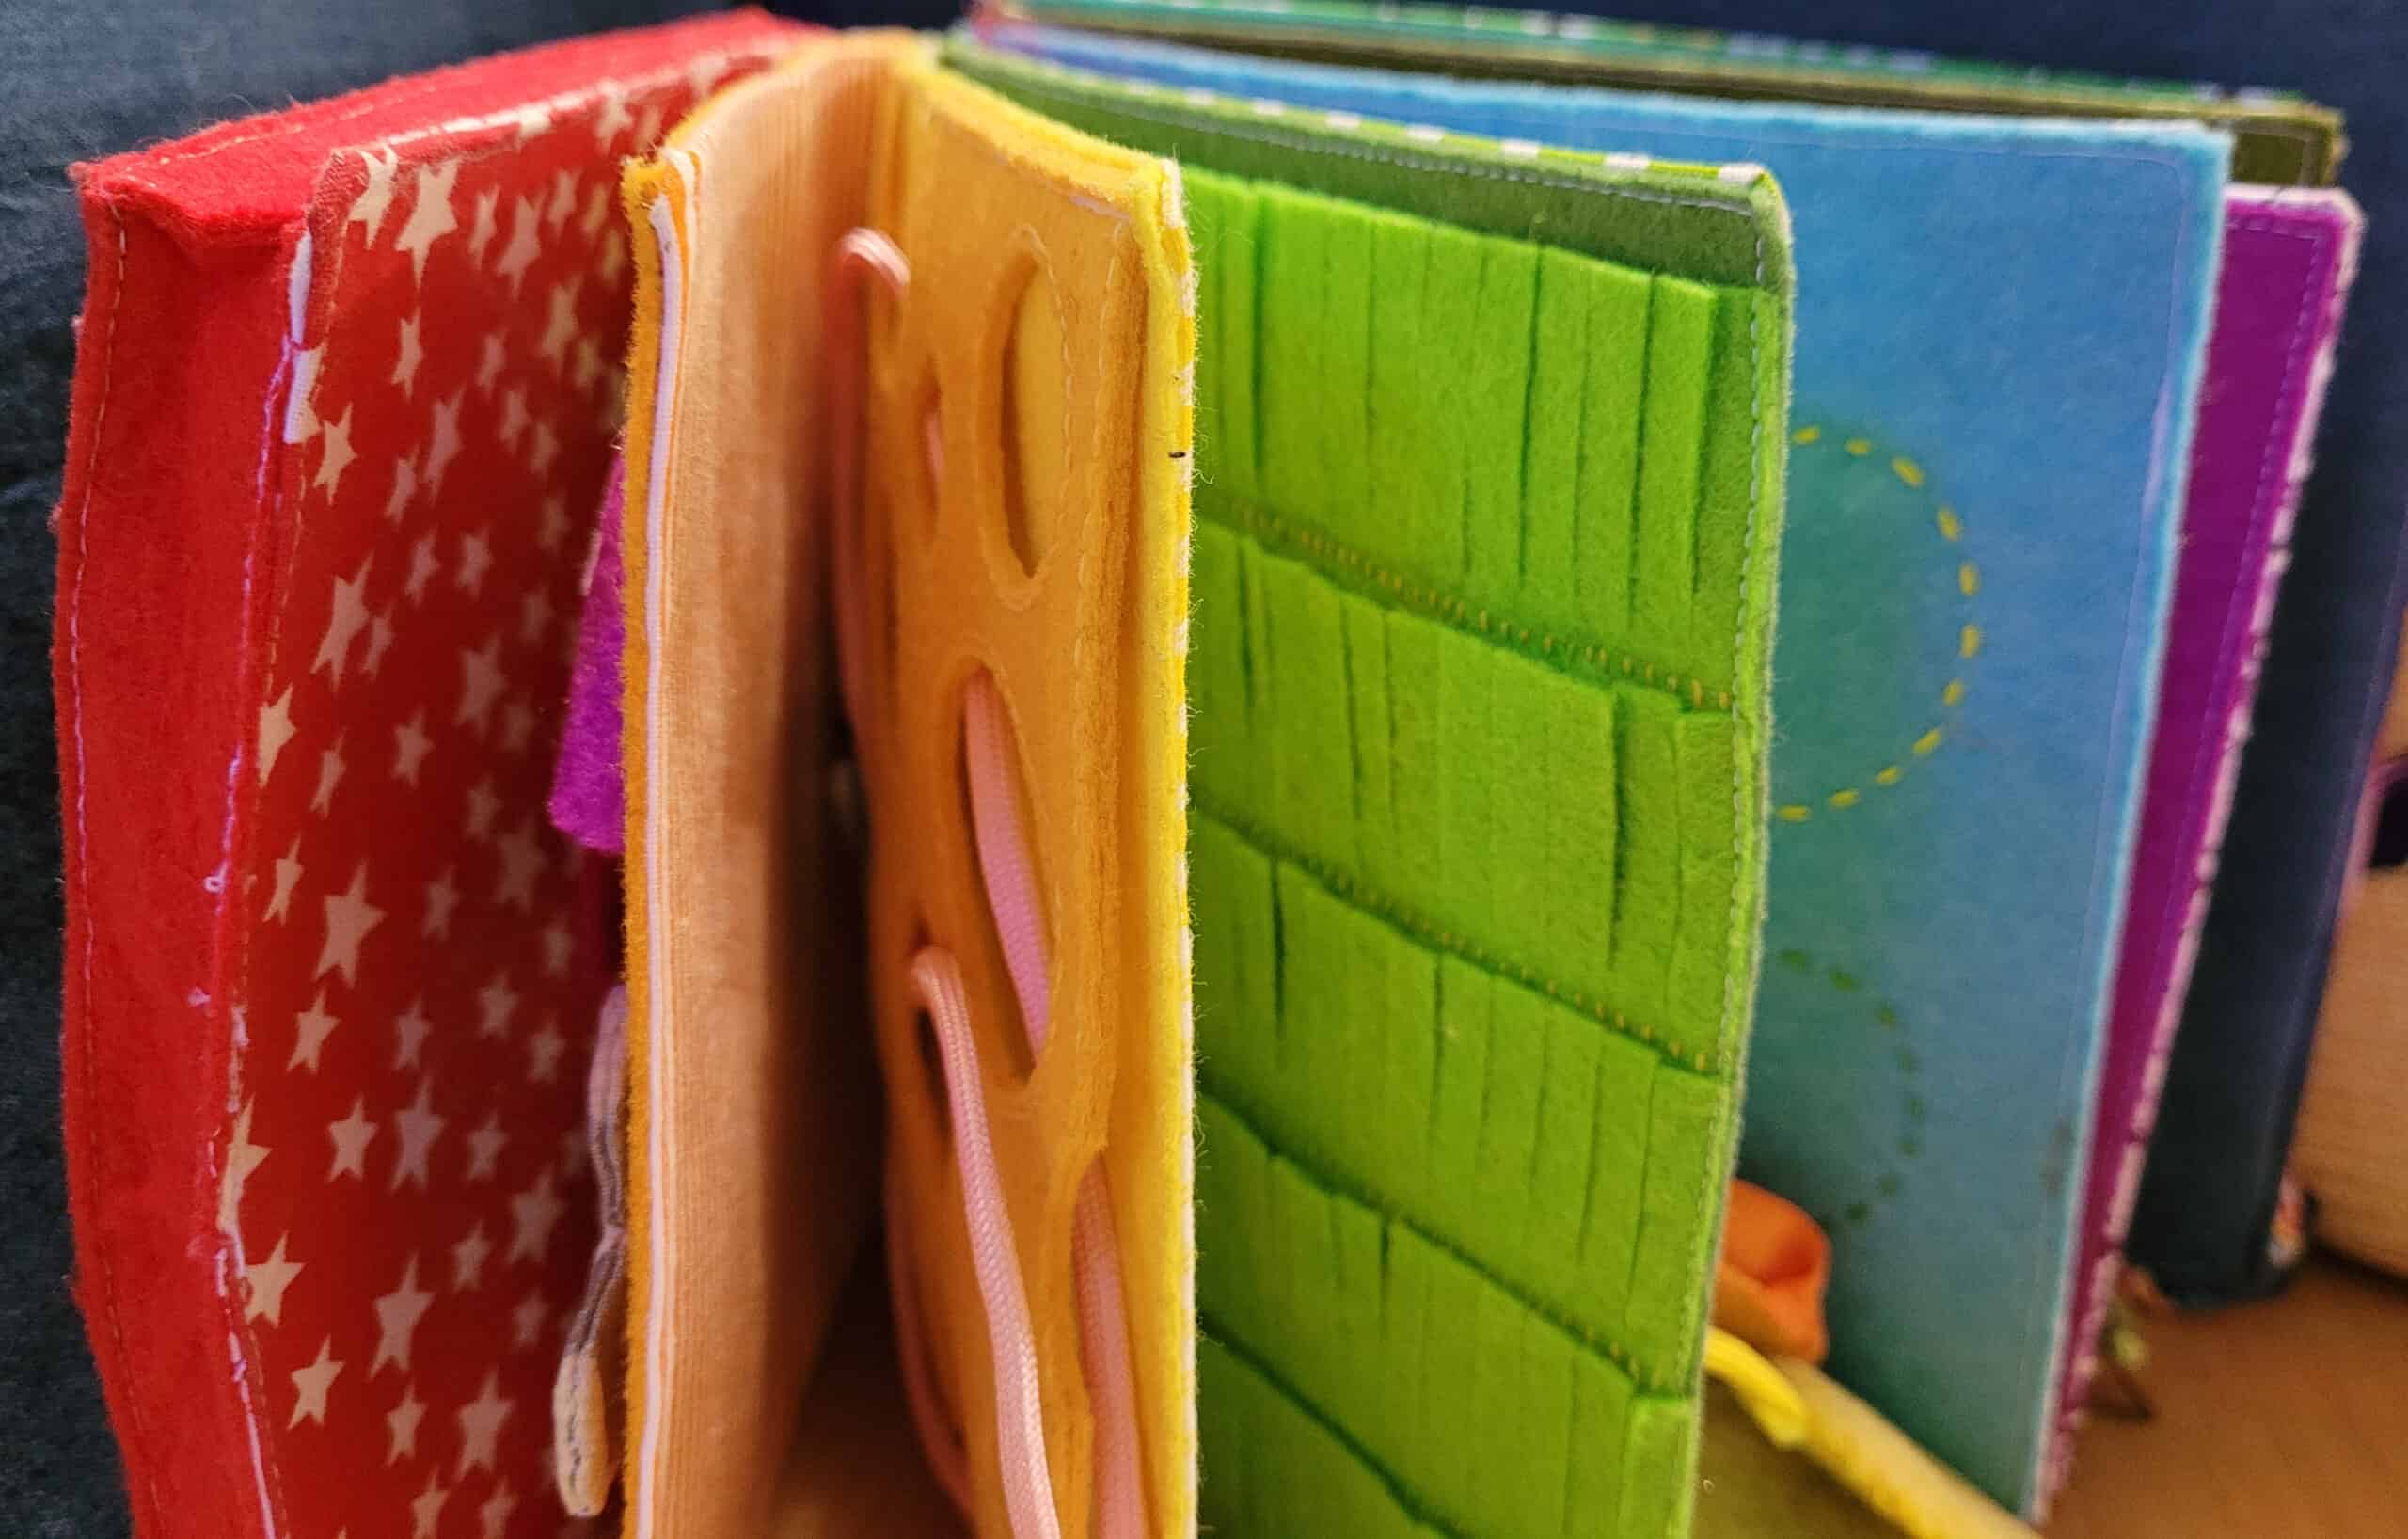
This is the third page in the original busy book. This one features a piece of felt cut out to look like a piece of swiss cheese. This piece is only sewn onto the page at the top, so it can be lifted up.
I sewed a little mouse out of felt as well, and attached it to a long paracord tail, which is sewn into the corner of the page. The idea is to thread the mouse through the cheese holes.
This helps with hand-eye coordination, fine motor skills and concentration. It also helps develop the pincer grip and finger muscles that will be necessary for learning to write later.
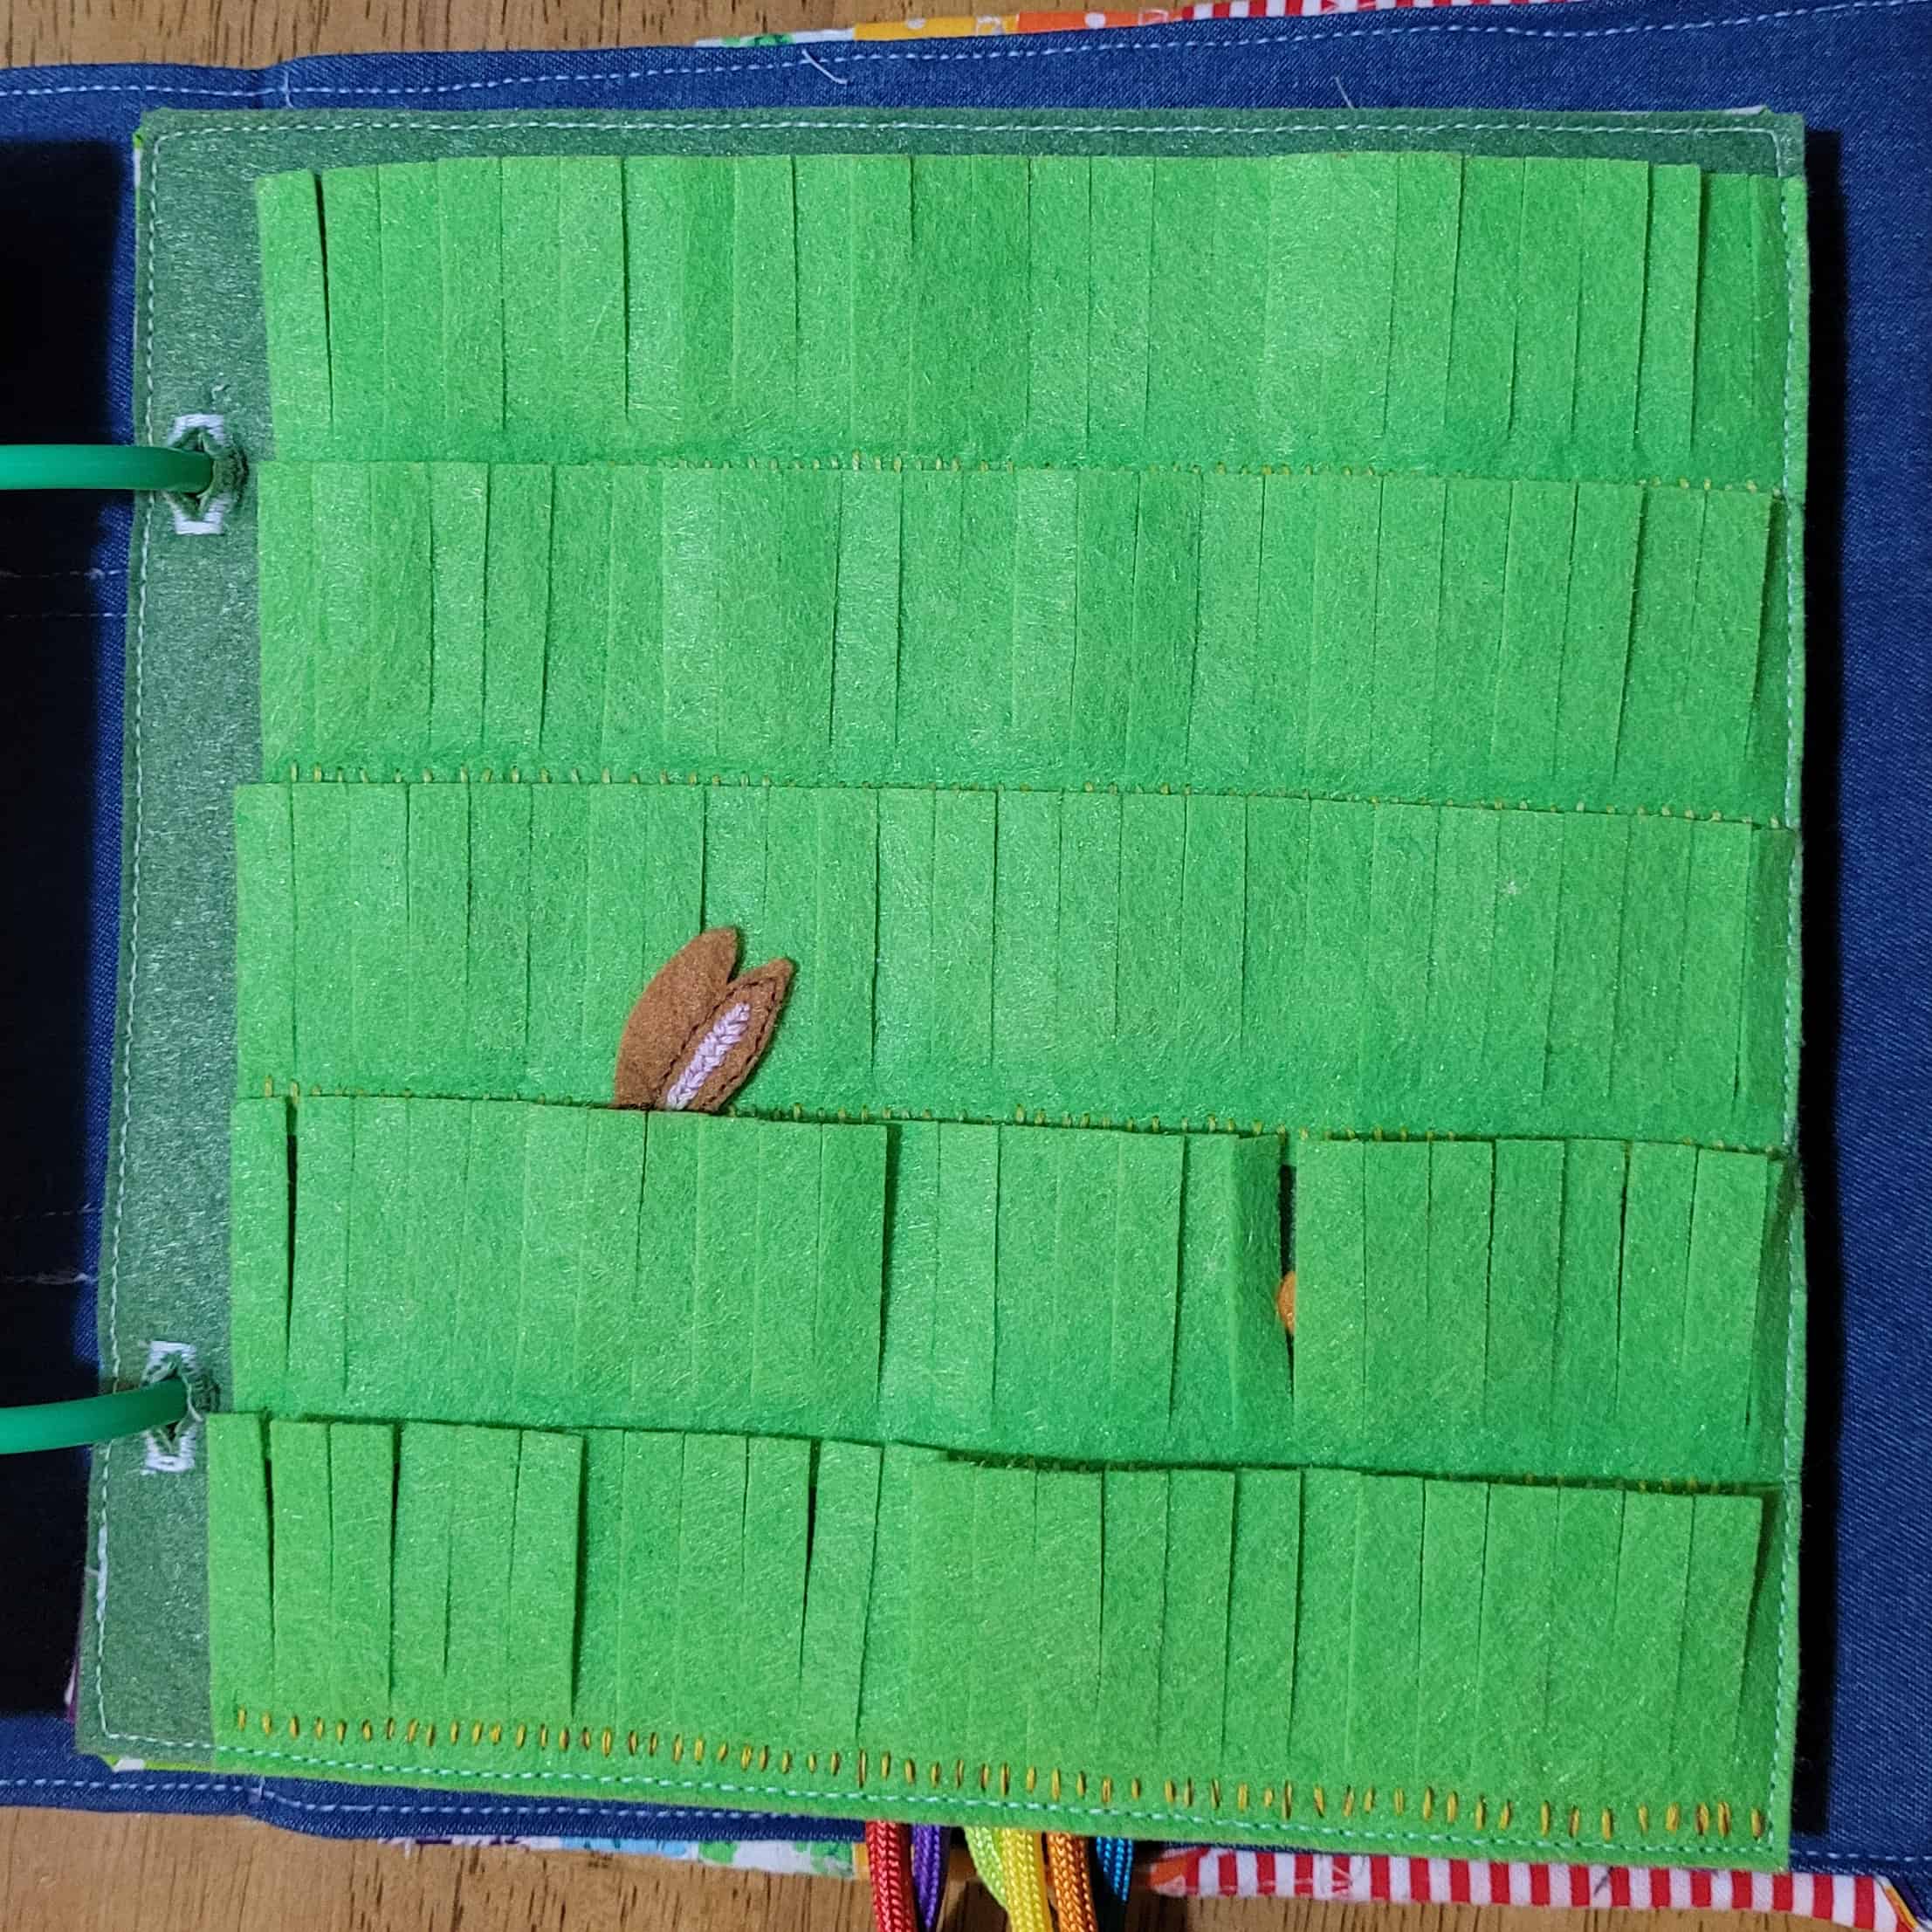
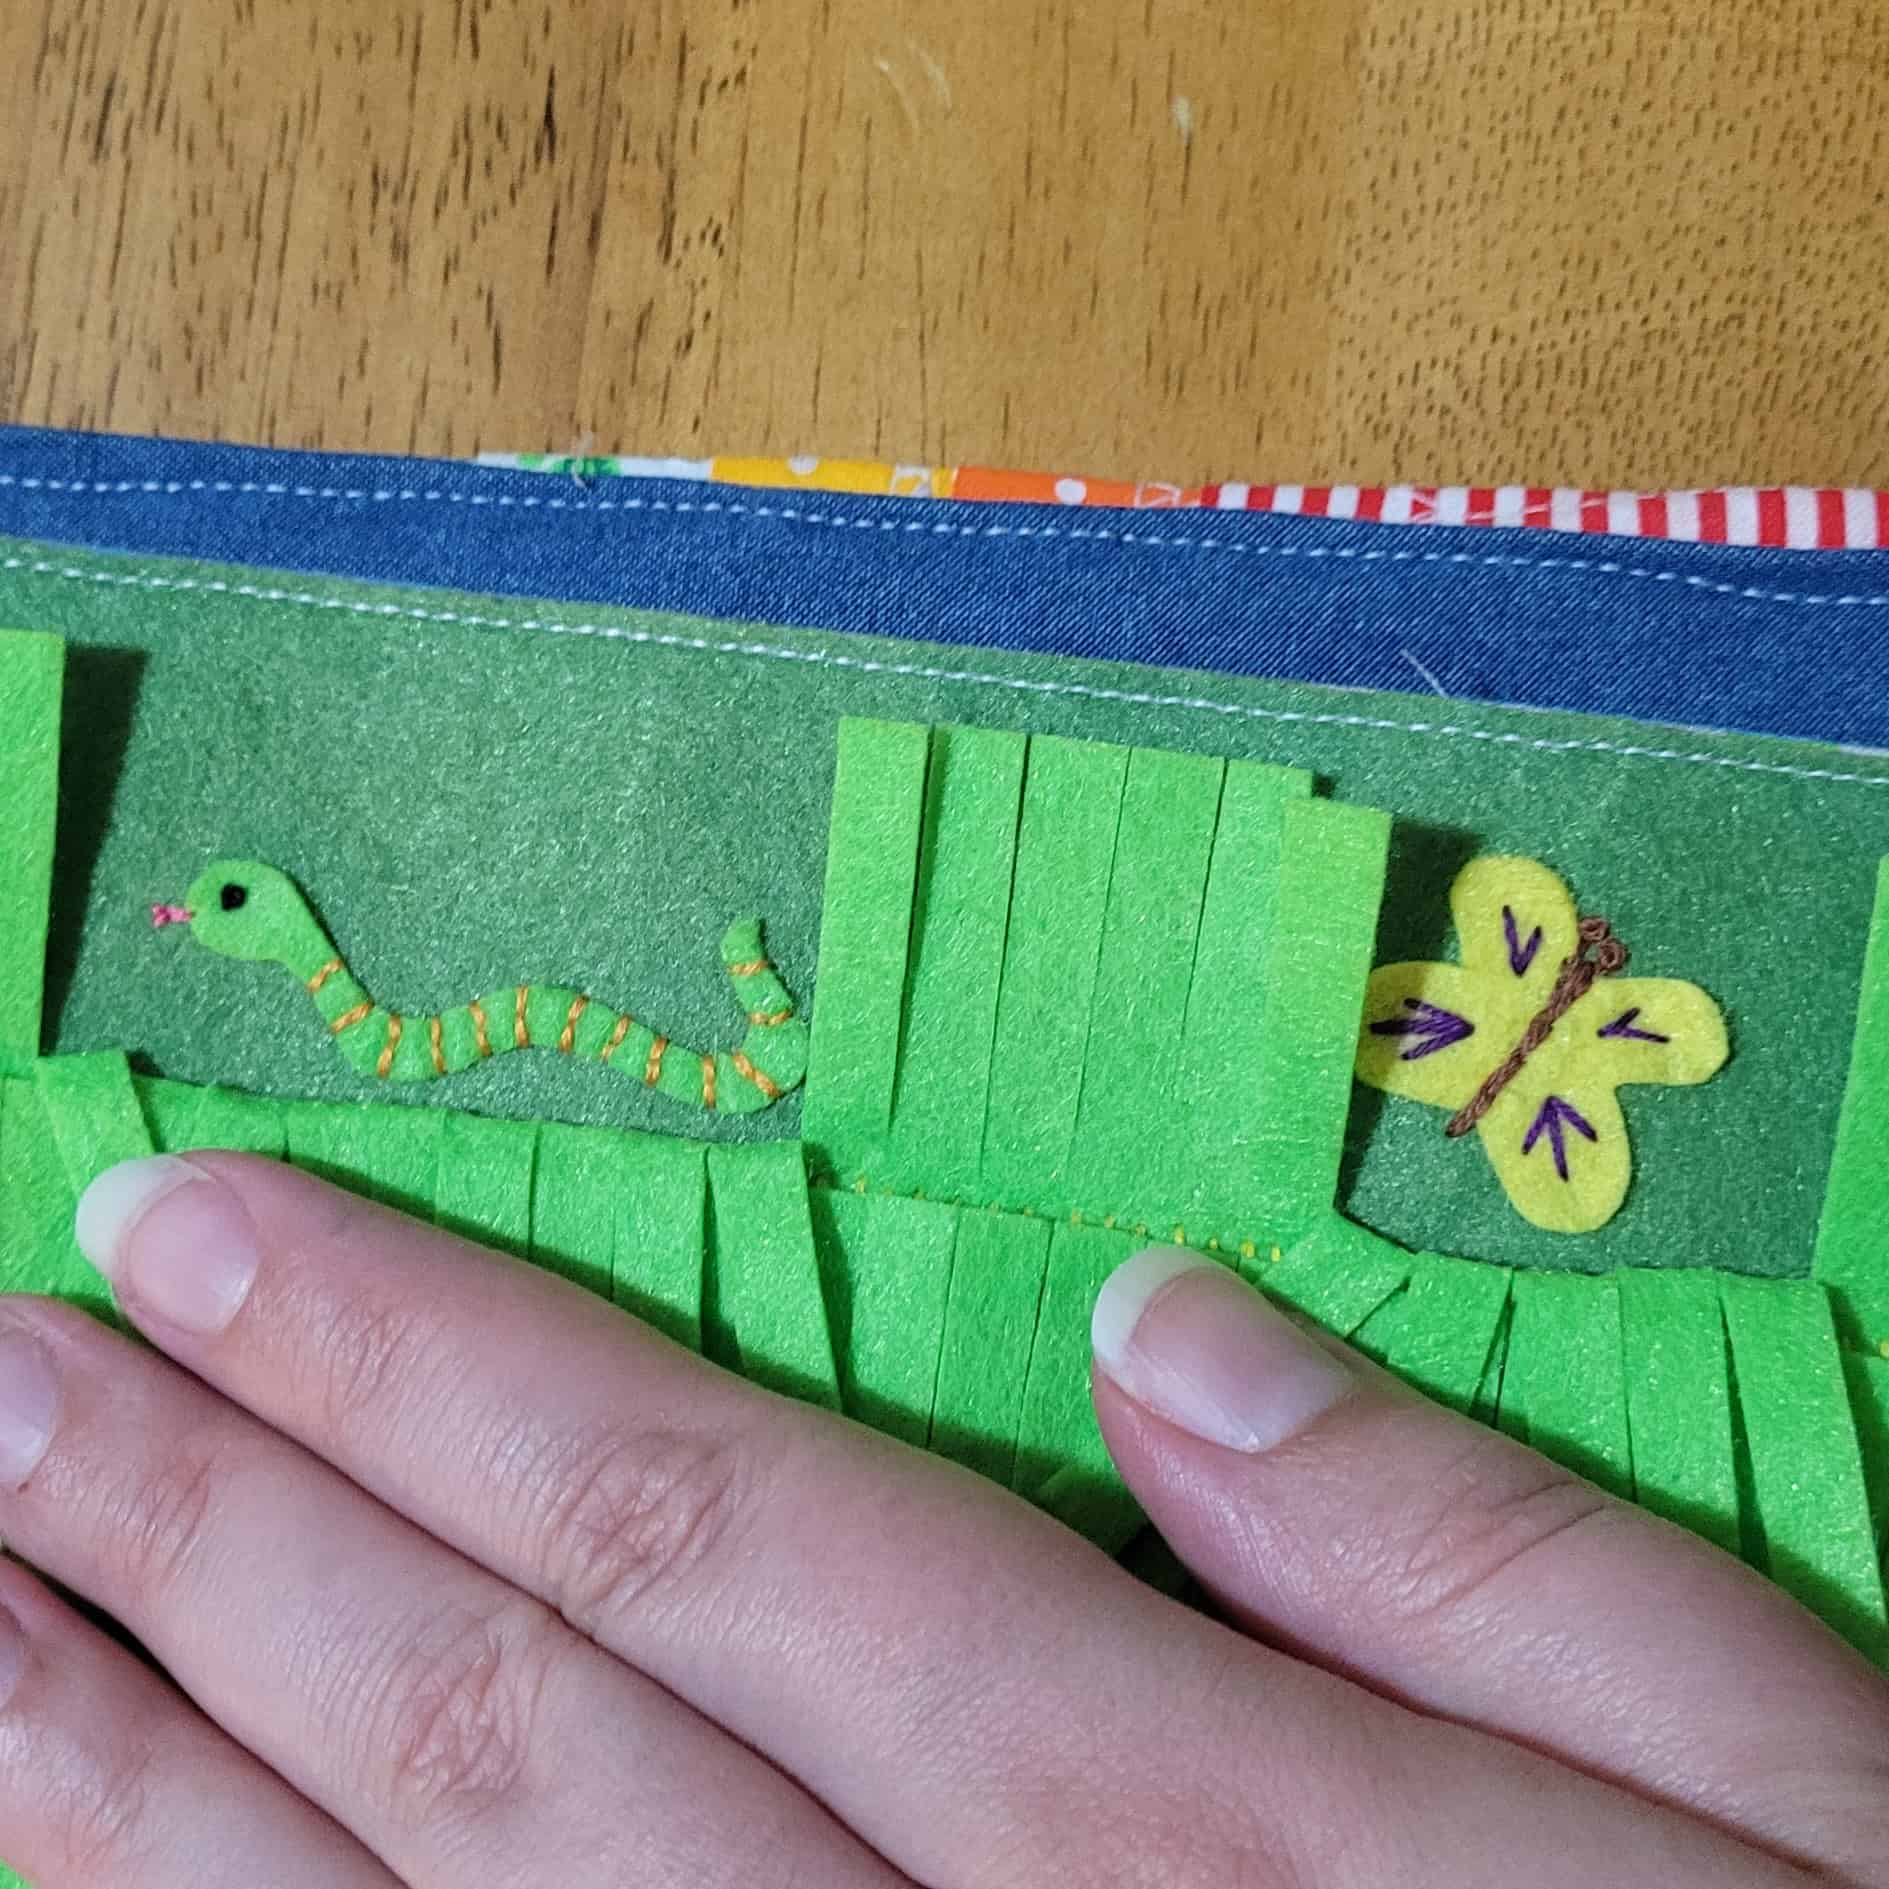
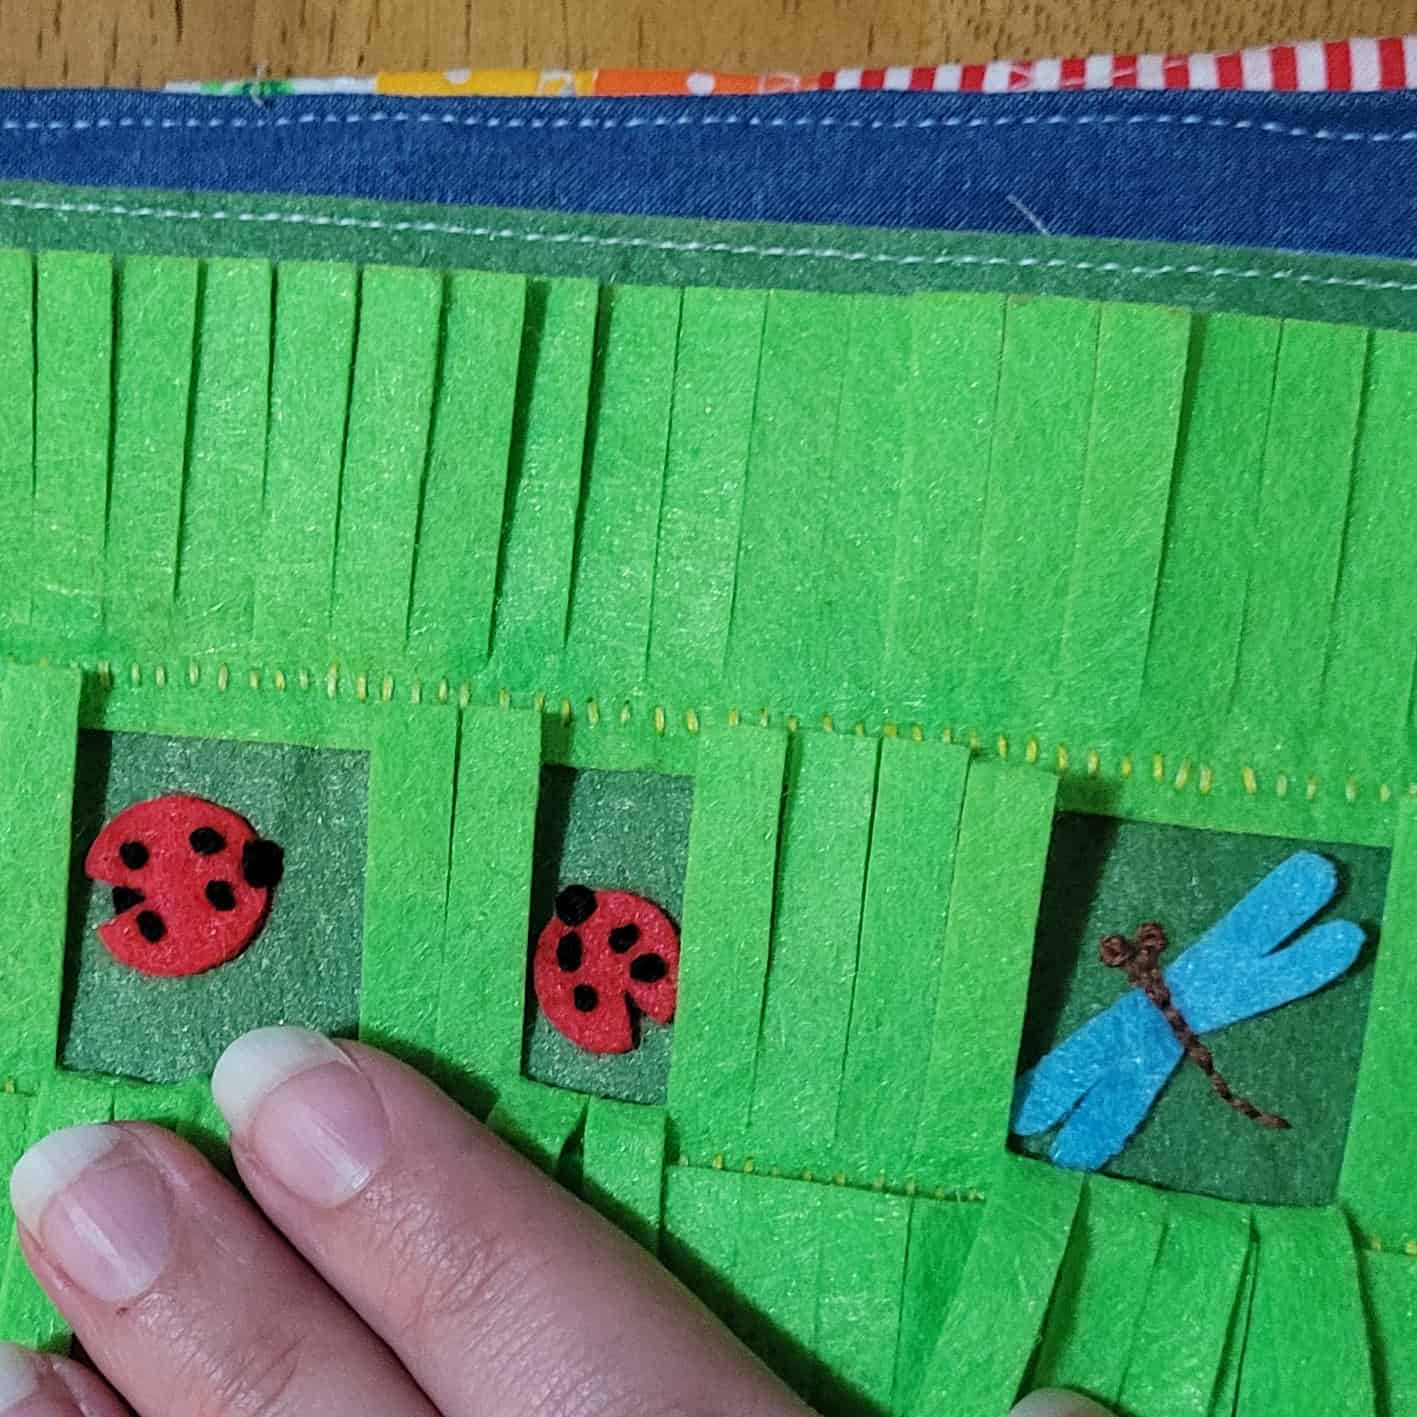
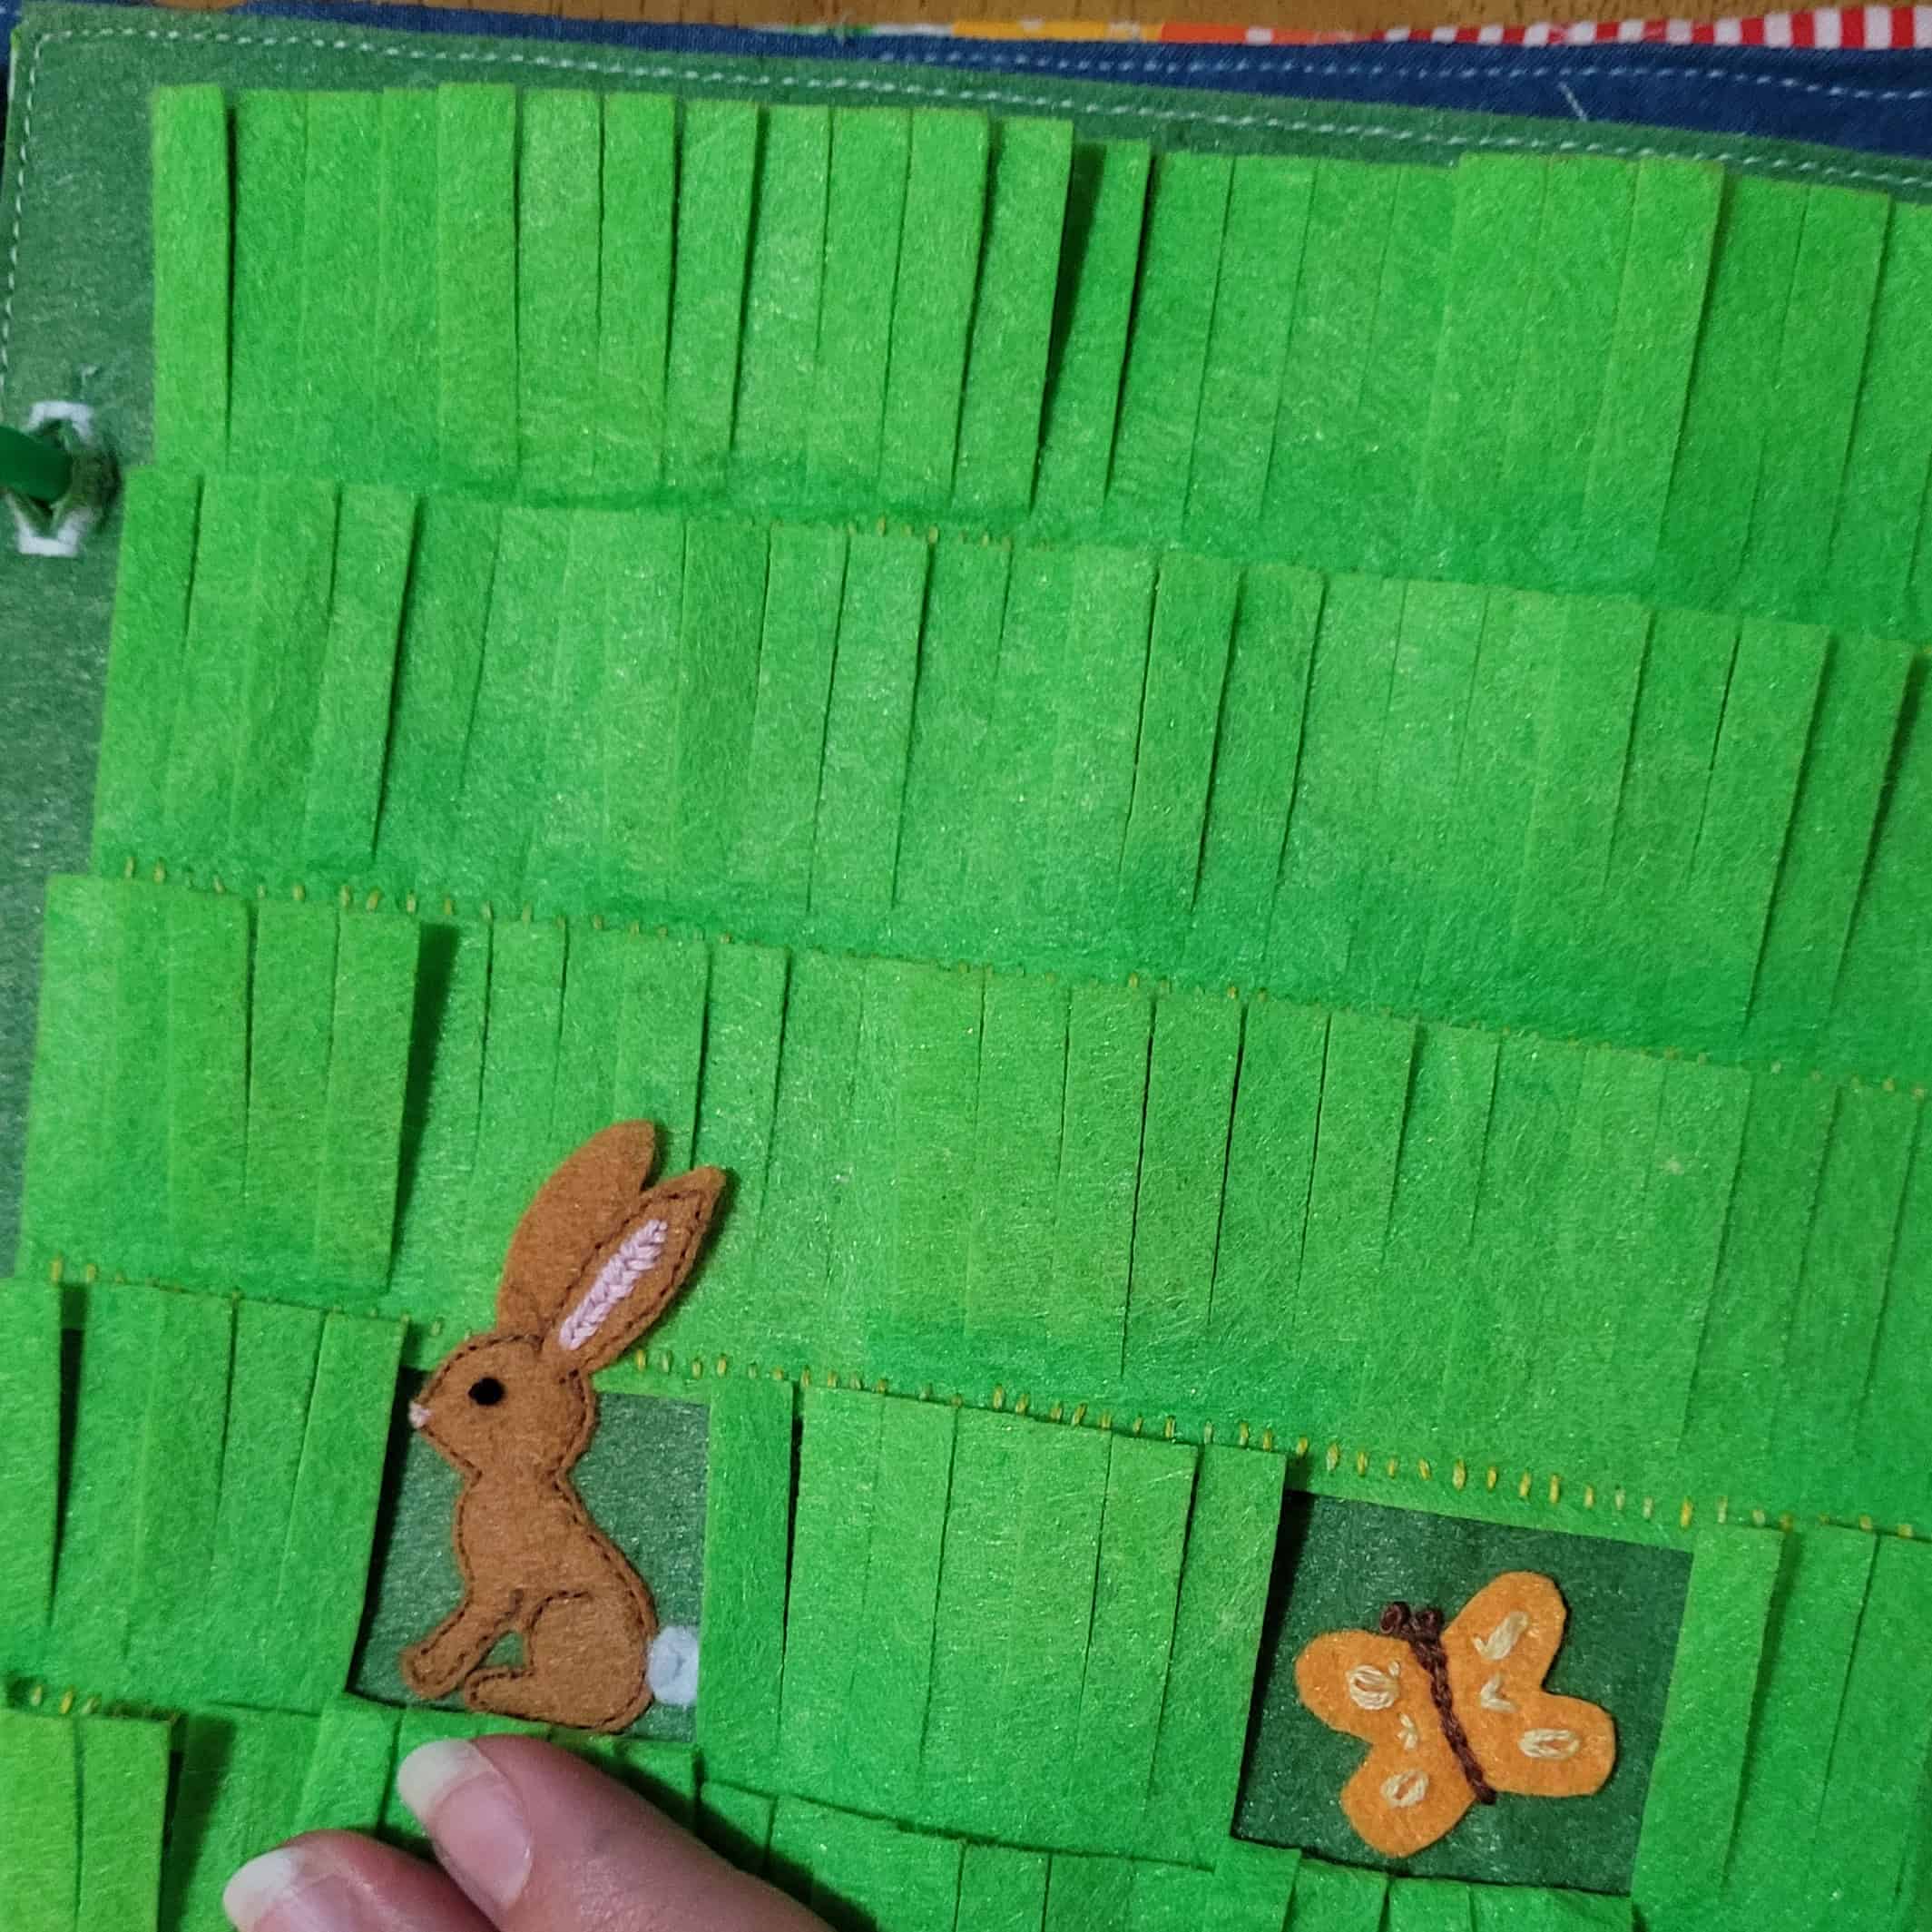
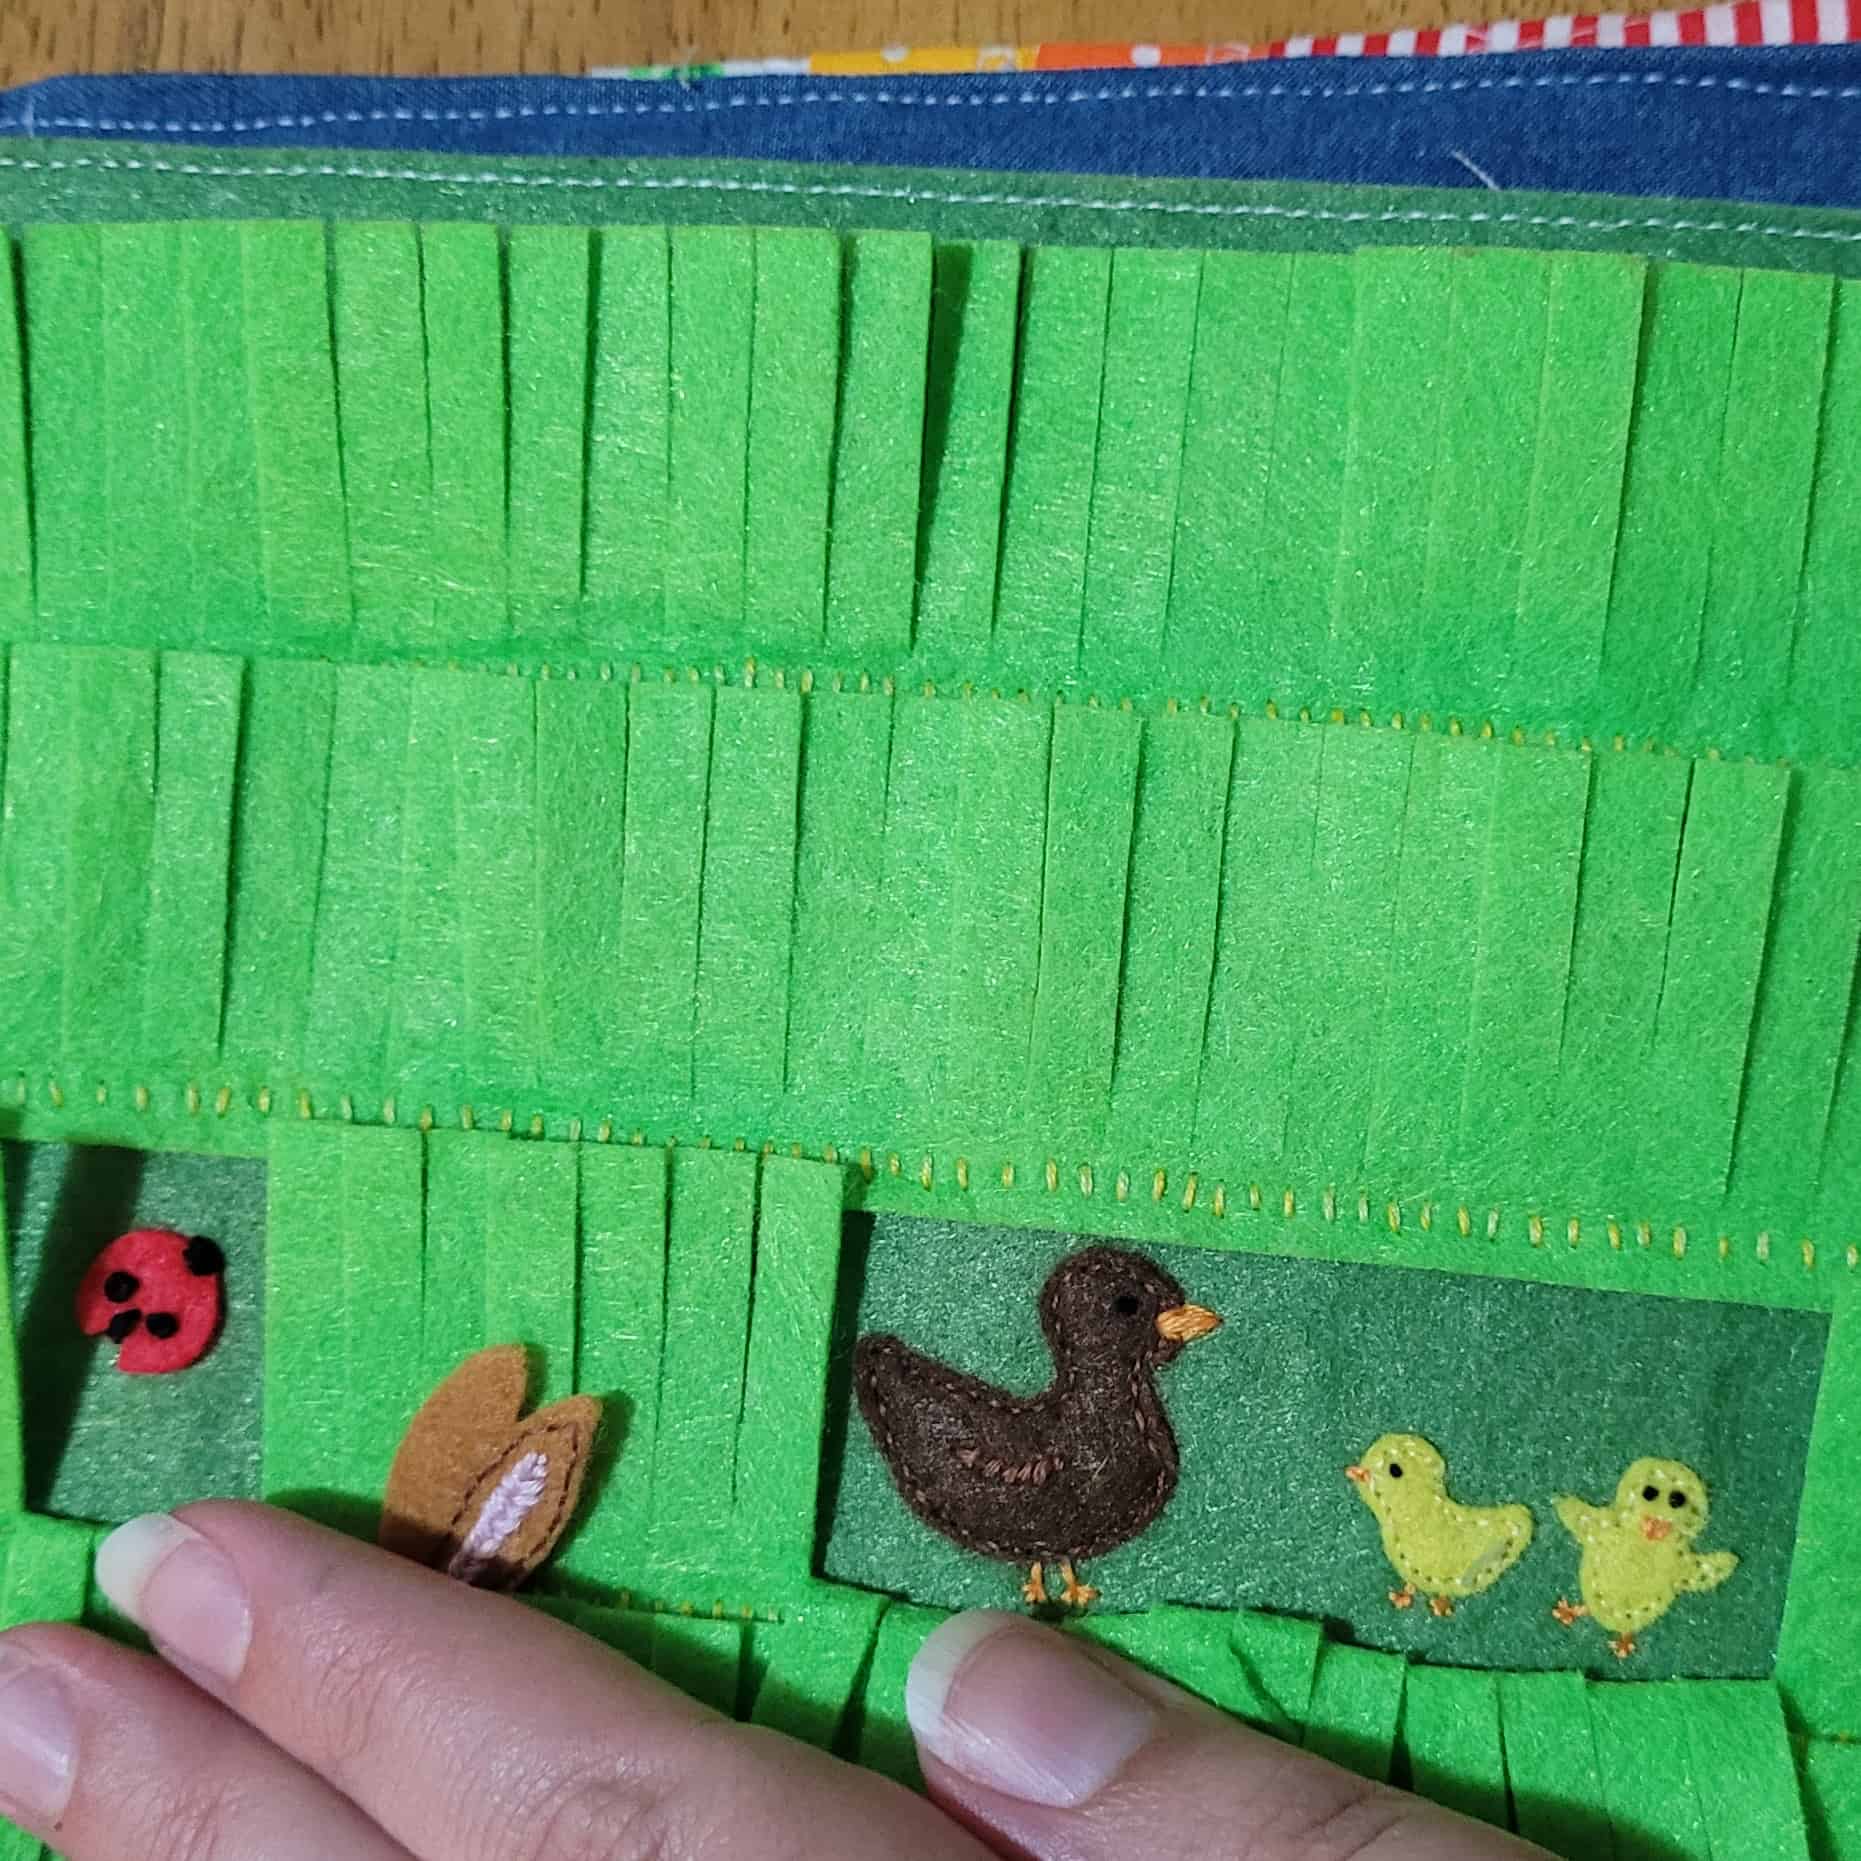
I needed more than one photo to show the fourth busy book page I made. This one has lots of little hand-sewn felt critters hidden in the strips of felt grass. I’m especially proud of the little ducklings. They were so tiny, so fiddly, but they turned out so cute!
This page helps develop working memory, object permanence and symbolic understanding. Over time, kids will start to remember what was in the grass and where they found it, and be rewarded by finding it again and again.
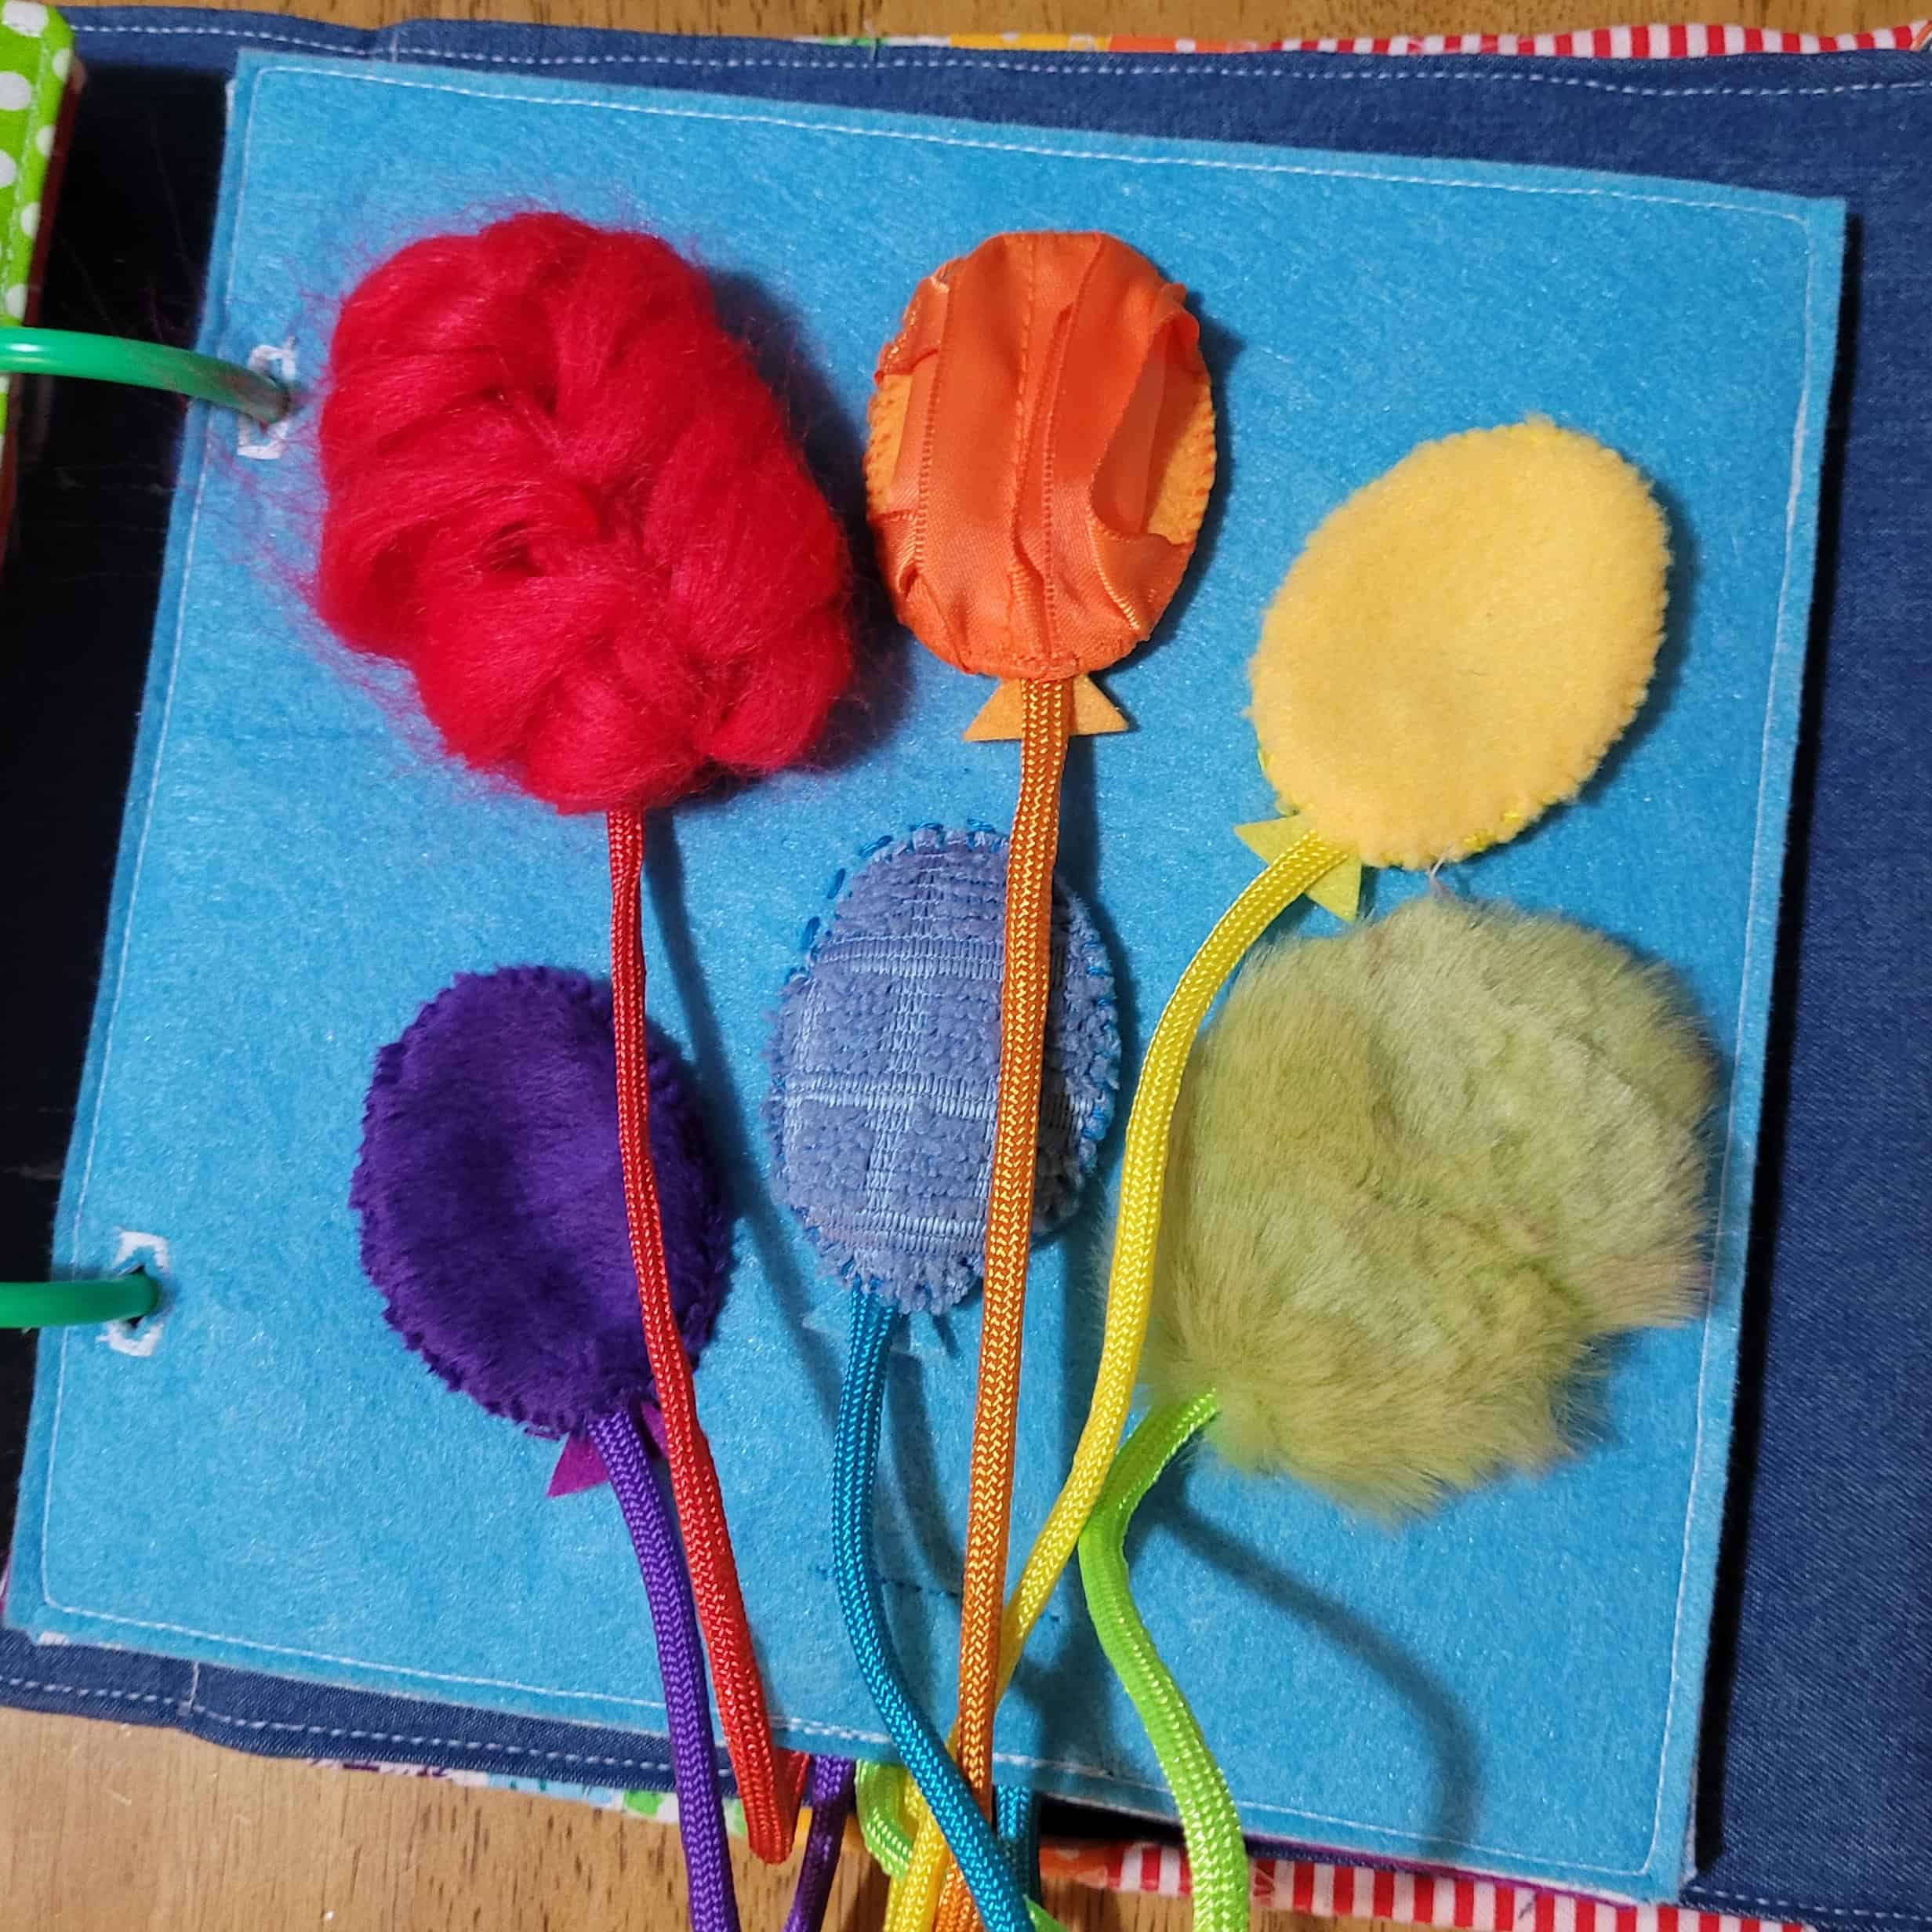
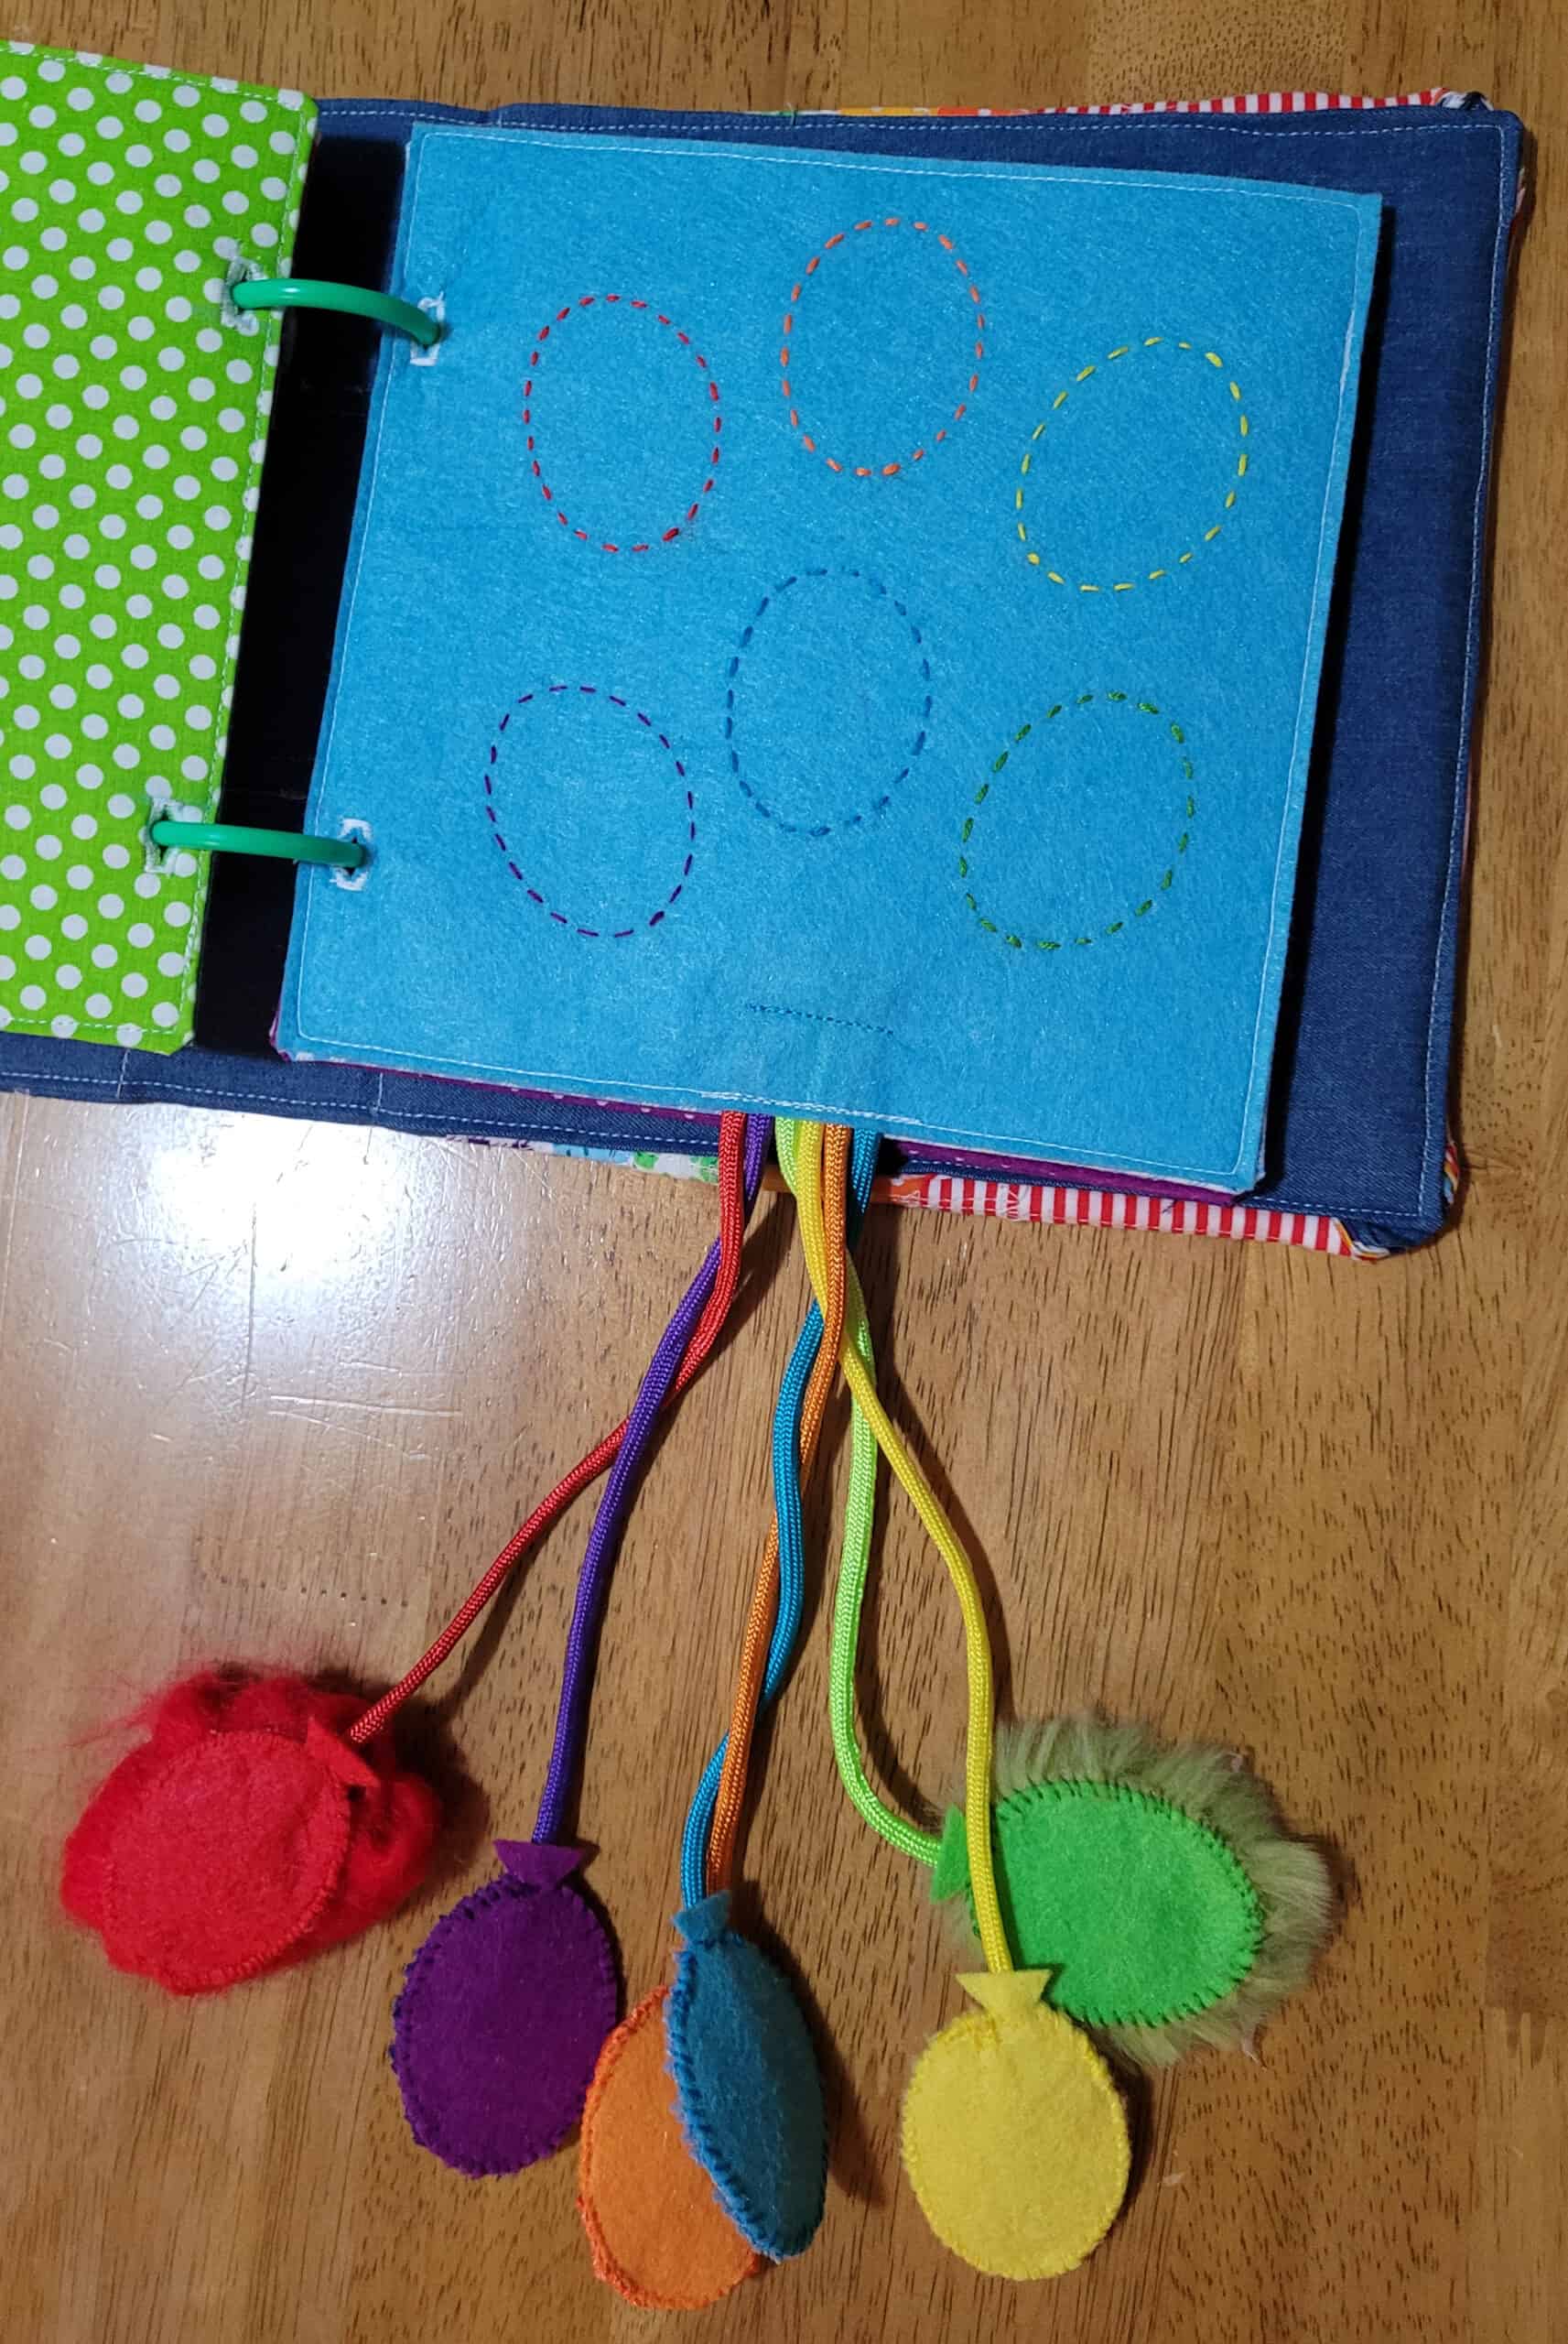
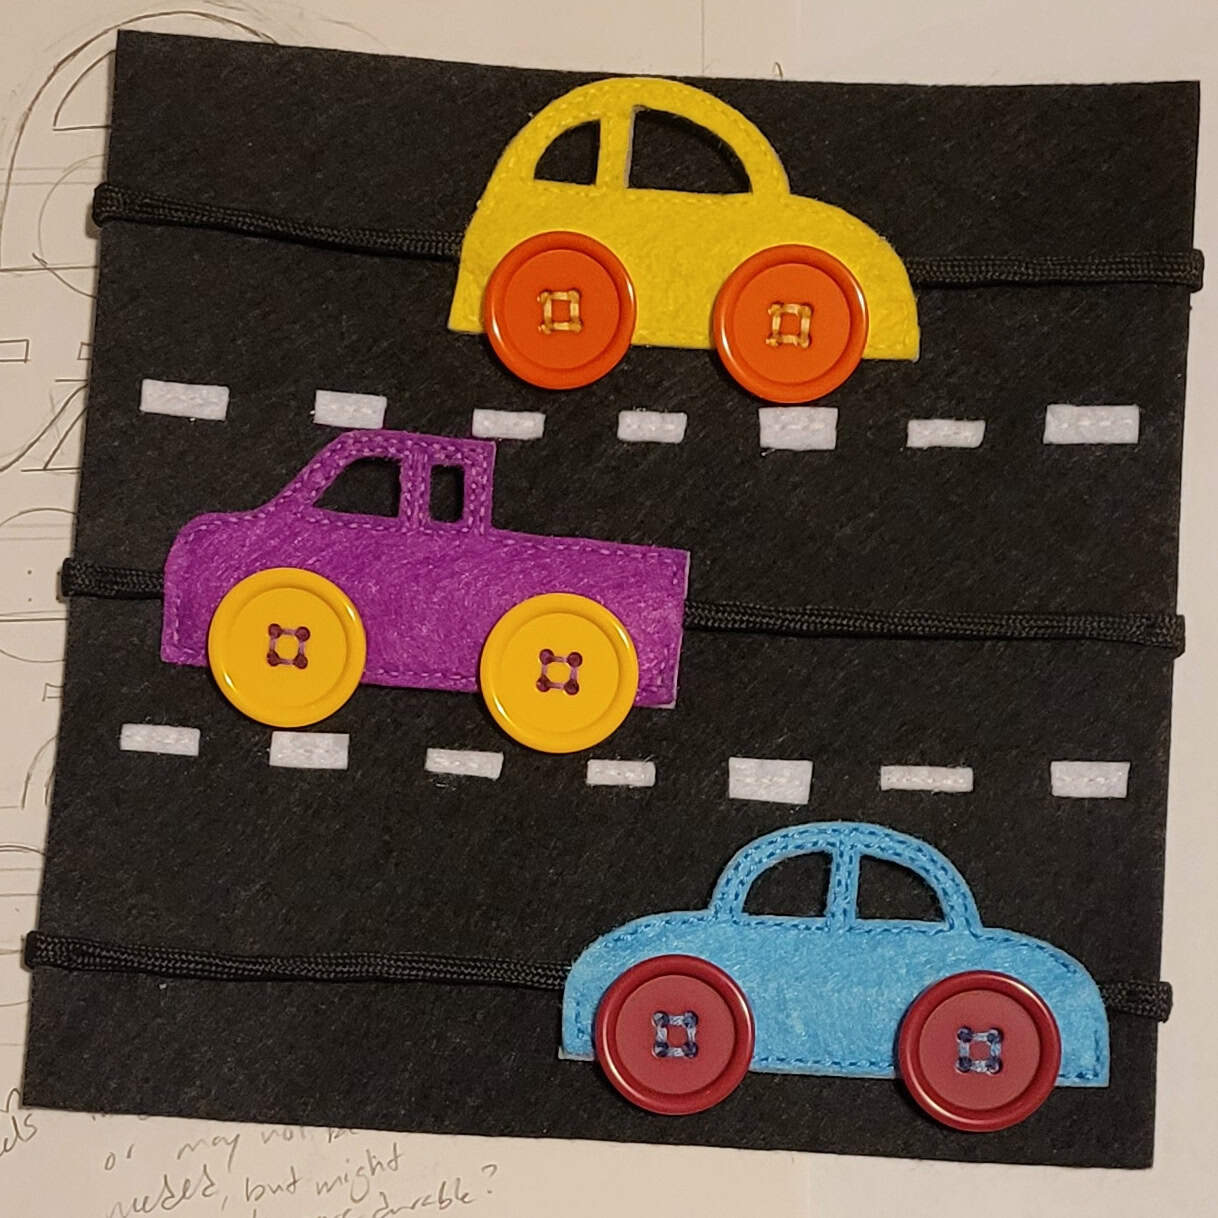
This is the fifth page in the original busy book. It’s a simple colour matching game with balloon shaped felt shapes on paracord strings.
I sewed fabric with different textures to one side of each balloon, just for some fun sensory input. If you know anyone who does cosplay or makes plushies, you might be able to ask them to save some scraps for you. I also like going to the dollar store and looking at unconventional options. The blue balloon is actually from a dish drying mat.

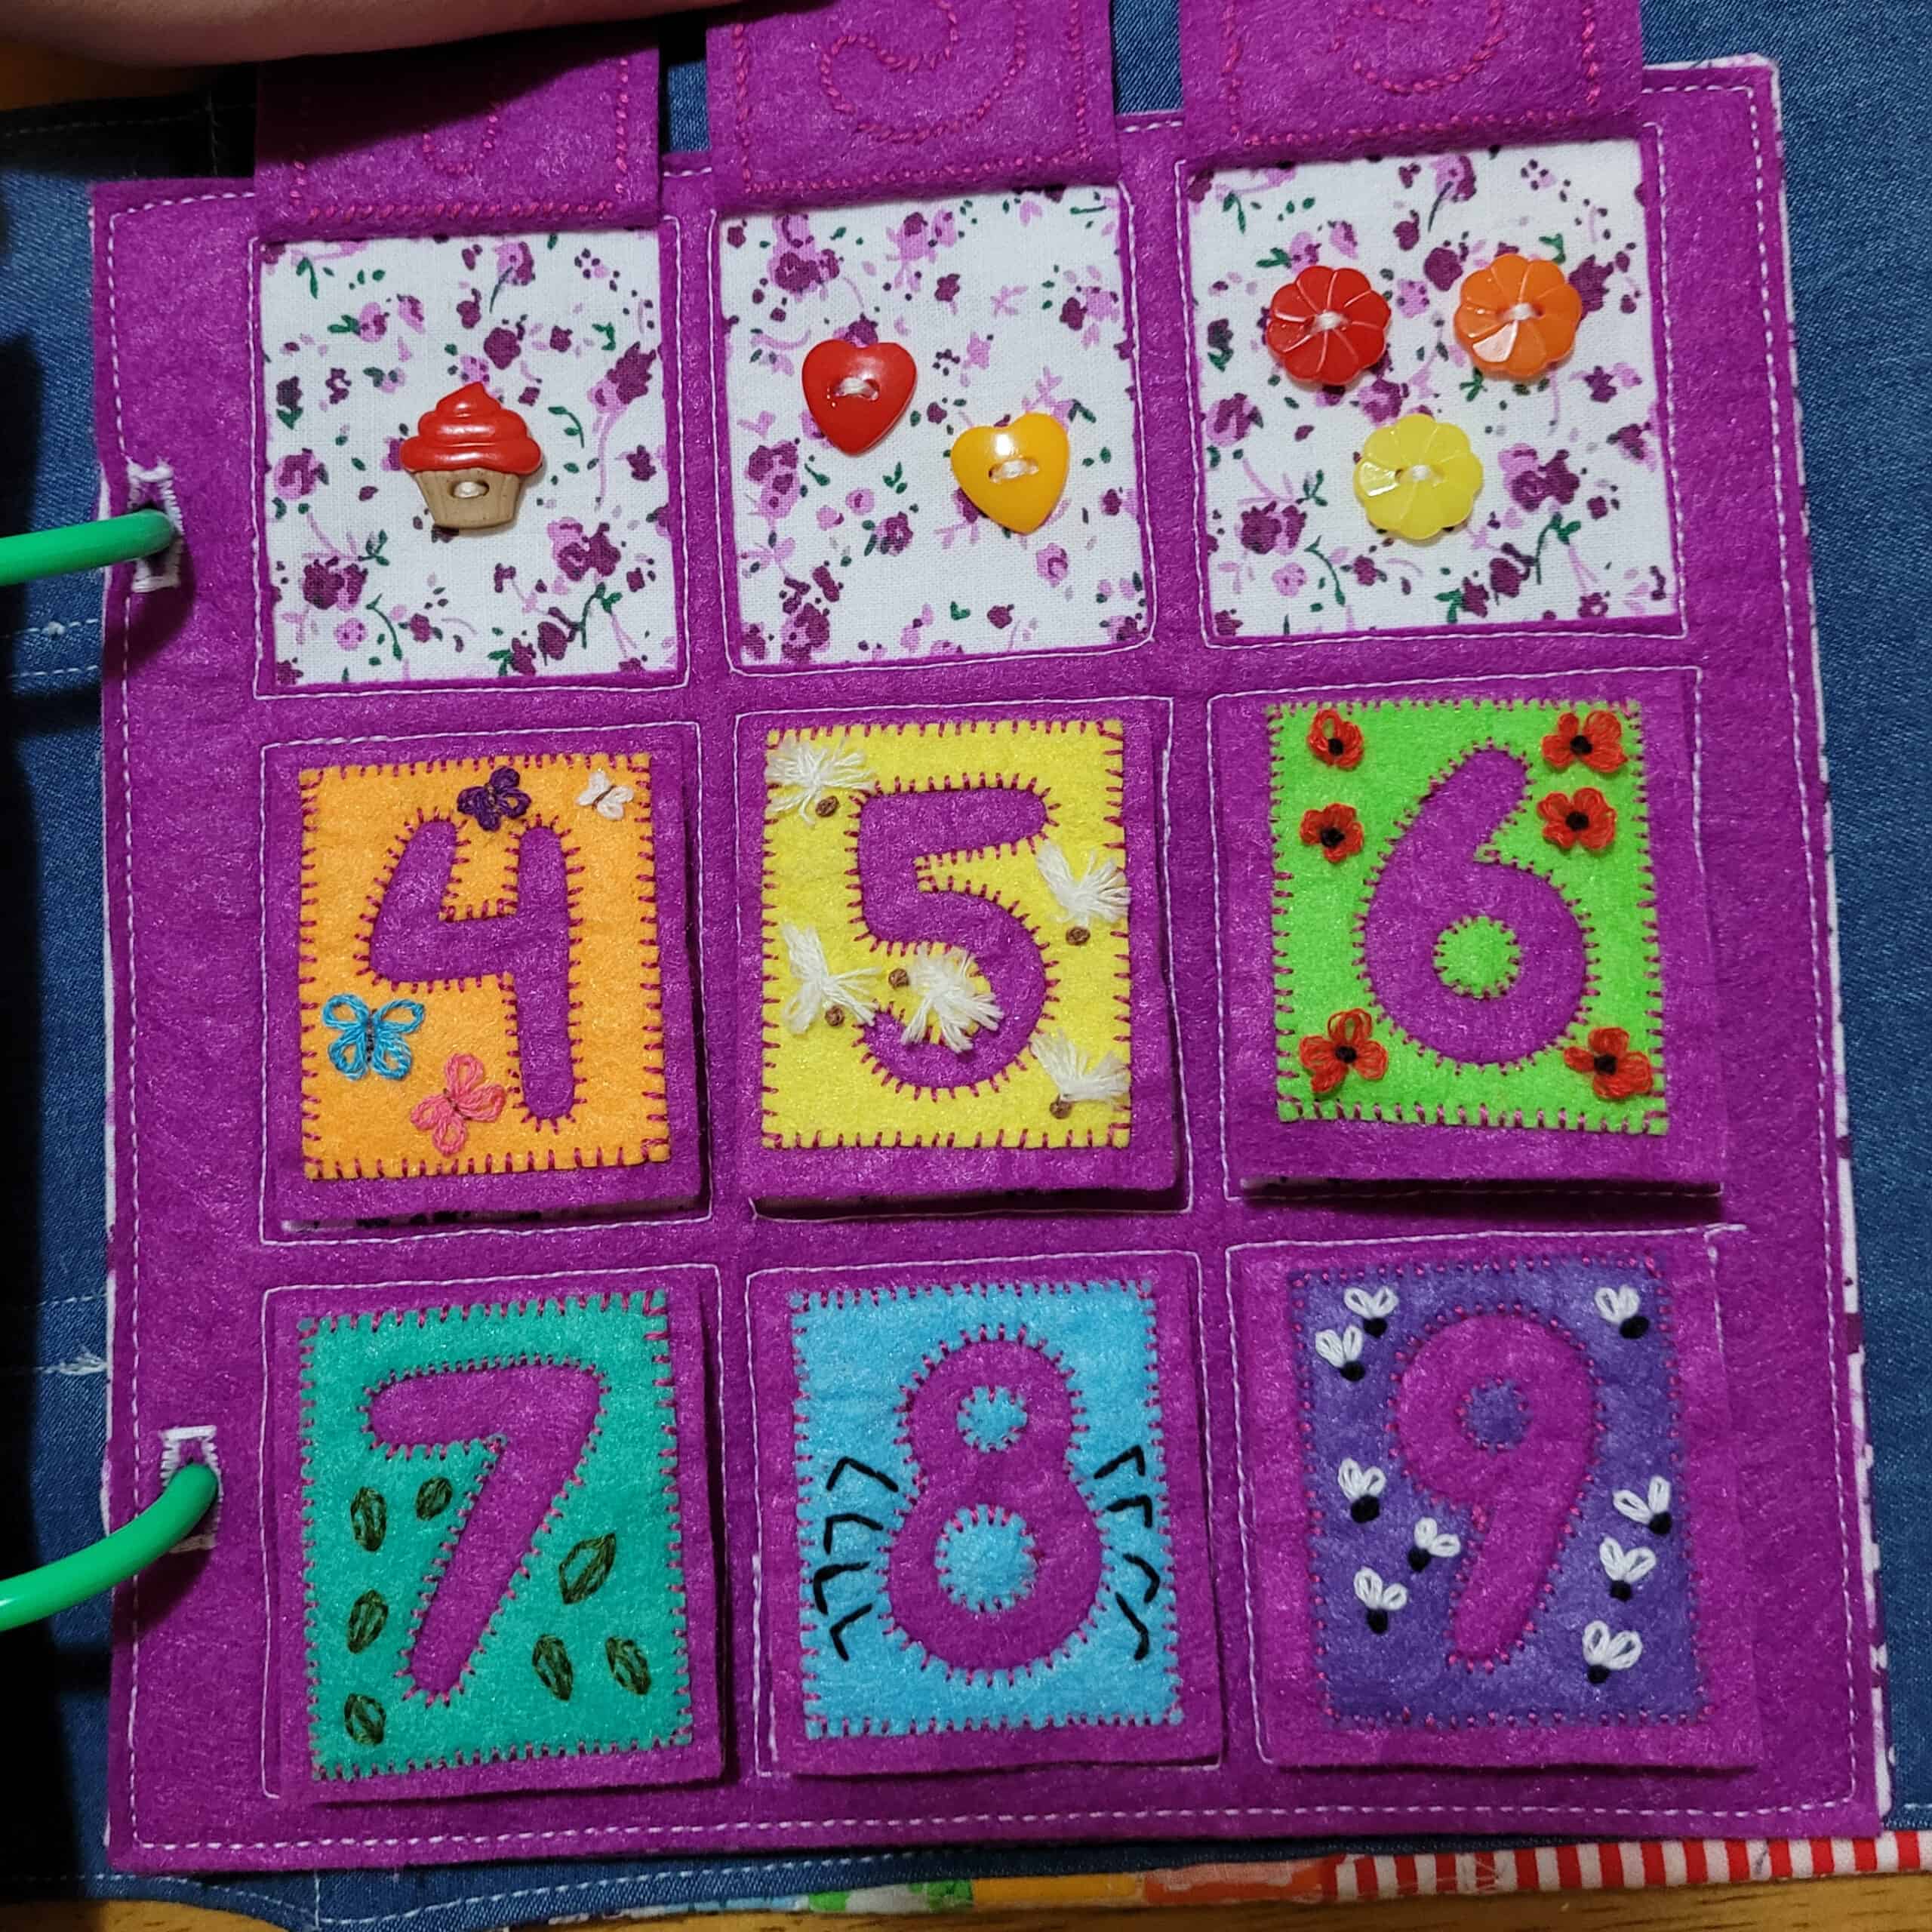
This was the last page I included in the original busy book. It has cotton fabric on both sides, with felt covering it on the front. I cut flaps out of the felt and sewed on number cutouts. To reinforce counting (and make the page less plain), I added little embroidered details on the flaps as well. Underneath each flap is the appropriate number of buttons, in fun shapes.
This is maybe a little advanced for toddlers, but they still have fun with colours and flaps, and it will be available when they start to be curious about numbers and counting.
That’s it for the original busy book. I have added a few pages to this one since originally gifting it, but I’ll save them for another post. Maybe I’ll include a little more of my design process and some pages of my sketch book. Subscribe below if this is something you want to read more about.
Remember to squeeze the day! You can always find at least a few minutes to do something fun.
~Lauren
Discover more from Orange Raspberry Lemonade
Subscribe to get the latest posts sent to your email.